Tutorial EAGLE 4.1 -- 2nd edition - Cadsoft
Tutorial EAGLE 4.1 -- 2nd edition - Cadsoft
Tutorial EAGLE 4.1 -- 2nd edition - Cadsoft

You also want an ePaper? Increase the reach of your titles
YUMPU automatically turns print PDFs into web optimized ePapers that Google loves.
<strong>EAGLE</strong>-<strong>Tutorial</strong> Version <strong>4.1</strong><br />
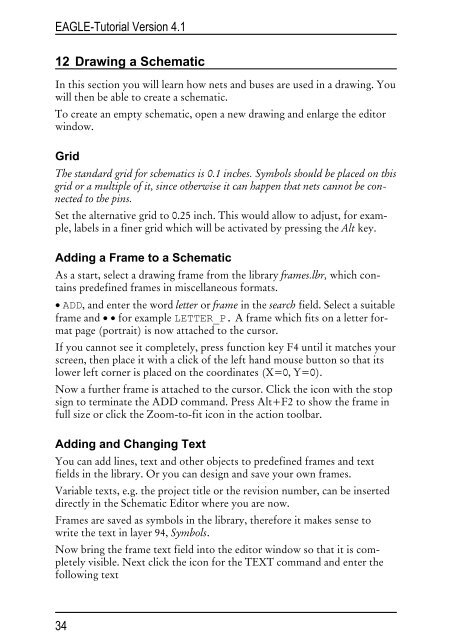
12 Drawing a Schematic<br />
In this section you will learn how nets and buses are used in a drawing. You<br />
will then be able to create a schematic.<br />
To create an empty schematic, open a new drawing and enlarge the editor<br />
window.<br />
Grid<br />
The standard grid for schematics is 0.1 inches. Symbols should be placed on this<br />
grid or a multiple of it, since otherwise it can happen that nets cannot be connected<br />
to the pins.<br />
Set the alternative grid to 0.25 inch. This would allow to adjust, for example,<br />
labels in a finer grid which will be activated by pressing the Alt key.<br />
Adding a Frame to a Schematic<br />
As a start, select a drawing frame from the library frames.lbr, which contains<br />
predefined frames in miscellaneous formats.<br />
• ADD, and enter the word letter or frame in the search field. Select a suitable<br />
frame and • • for example LETTER_P. A frame which fits on a letter format<br />
page (portrait) is now attached to the cursor.<br />
If you cannot see it completely, press function key F4 until it matches your<br />
screen, then place it with a click of the left hand mouse button so that its<br />
lower left corner is placed on the coordinates (X=0, Y=0).<br />
Now a further frame is attached to the cursor. Click the icon with the stop<br />
sign to terminate the ADD command. Press Alt+F2 to show the frame in<br />
full size or click the Zoom-to-fit icon in the action toolbar.<br />
Adding and Changing Text<br />
You can add lines, text and other objects to predefined frames and text<br />
fields in the library. Or you can design and save your own frames.<br />
Variable texts, e.g. the project title or the revision number, can be inserted<br />
directly in the Schematic Editor where you are now.<br />
Frames are saved as symbols in the library, therefore it makes sense to<br />
write the text in layer 94, Symbols.<br />
Now bring the frame text field into the editor window so that it is completely<br />
visible. Next click the icon for the TEXT command and enter the<br />
following text<br />
34