3100B HFOV Operator Manual - CareFusion
3100B HFOV Operator Manual - CareFusion
3100B HFOV Operator Manual - CareFusion
Create successful ePaper yourself
Turn your PDF publications into a flip-book with our unique Google optimized e-Paper software.
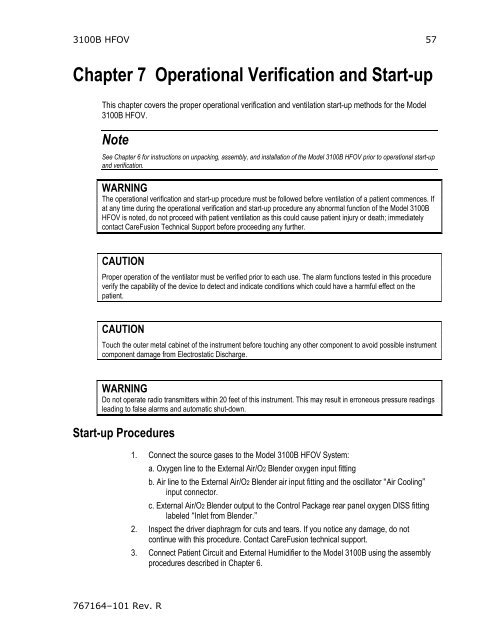
<strong>3100B</strong> <strong>HFOV</strong> 57<br />
Chapter 7 Operational Verification and Start-up<br />
This chapter covers the proper operational verification and ventilation start-up methods for the Model<br />
<strong>3100B</strong> <strong>HFOV</strong>.<br />
Note<br />
See Chapter 6 for instructions on unpacking, assembly, and installation of the Model <strong>3100B</strong> <strong>HFOV</strong> prior to operational start-up<br />
and verification.<br />
WARNING<br />
The operational verification and start-up procedure must be followed before ventilation of a patient commences. If<br />
at any time during the operational verification and start-up procedure any abnormal function of the Model <strong>3100B</strong><br />
<strong>HFOV</strong> is noted, do not proceed with patient ventilation as this could cause patient injury or death; immediately<br />
contact <strong>CareFusion</strong> Technical Support before proceeding any further.<br />
CAUTION<br />
Proper operation of the ventilator must be verified prior to each use. The alarm functions tested in this procedure<br />
verify the capability of the device to detect and indicate conditions which could have a harmful effect on the<br />
patient.<br />
CAUTION<br />
Touch the outer metal cabinet of the instrument before touching any other component to avoid possible instrument<br />
component damage from Electrostatic Discharge.<br />
WARNING<br />
Do not operate radio transmitters within 20 feet of this instrument. This may result in erroneous pressure readings<br />
leading to false alarms and automatic shut-down.<br />
Start-up Procedures<br />
1. Connect the source gases to the Model <strong>3100B</strong> <strong>HFOV</strong> System:<br />
a. Oxygen line to the External Air/O2 Blender oxygen input fitting<br />
b. Air line to the External Air/O2 Blender air input fitting and the oscillator “Air Cooling”<br />
input connector.<br />
c. External Air/O2 Blender output to the Control Package rear panel oxygen DISS fitting<br />
labeled “Inlet from Blender.”<br />
2. Inspect the driver diaphragm for cuts and tears. If you notice any damage, do not<br />
continue with this procedure. Contact <strong>CareFusion</strong> technical support.<br />
3. Connect Patient Circuit and External Humidifier to the Model <strong>3100B</strong> using the assembly<br />
procedures described in Chapter 6.<br />
767164–101 Rev. R


