

TempLinc Owners Manual - Insteon
TempLinc Owners Manual - Insteon
TempLinc Owners Manual - Insteon

Create successful ePaper yourself
Turn your PDF publications into a flip-book with our unique Google optimized e-Paper software.
Optional Accessories<br />
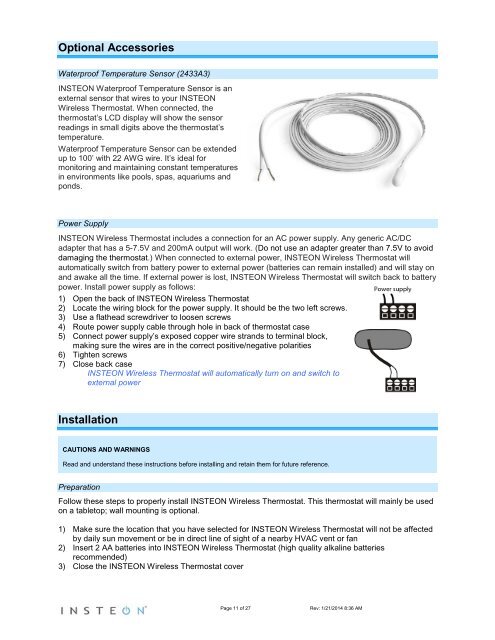
Waterproof Temperature Sensor (2433A3)<br />
INSTEON Waterproof Temperature Sensor is an<br />
external sensor that wires to your INSTEON<br />
Wireless Thermostat. When connected, the<br />
thermostat’s LCD display will show the sensor<br />
readings in small digits above the thermostat’s<br />
temperature.<br />
Waterproof Temperature Sensor can be extended<br />
up to 100’ with 22 AWG wire. It’s ideal for<br />
monitoring and maintaining constant temperatures<br />
in environments like pools, spas, aquariums and<br />
ponds.<br />
Power Supply<br />
INSTEON Wireless Thermostat includes a connection for an AC power supply. Any generic AC/DC<br />
adapter that has a 5-7.5V and 200mA output will work. (Do not use an adapter greater than 7.5V to avoid<br />
damaging the thermostat.) When connected to external power, INSTEON Wireless Thermostat will<br />
automatically switch from battery power to external power (batteries can remain installed) and will stay on<br />
and awake all the time. If external power is lost, INSTEON Wireless Thermostat will switch back to battery<br />
power. Install power supply as follows:<br />
1) Open the back of INSTEON Wireless Thermostat<br />
2) Locate the wiring block for the power supply. It should be the two left screws.<br />
3) Use a flathead screwdriver to loosen screws<br />
4) Route power supply cable through hole in back of thermostat case<br />
5) Connect power supply’s exposed copper wire strands to terminal block,<br />
making sure the wires are in the correct positive/negative polarities<br />
6) Tighten screws<br />
7) Close back case<br />
INSTEON Wireless Thermostat will automatically turn on and switch to<br />
external power<br />
Installation<br />
CAUTIONS AND WARNINGS<br />
Read and understand these instructions before installing and retain them for future reference.<br />
Preparation<br />
Follow these steps to properly install INSTEON Wireless Thermostat. This thermostat will mainly be used<br />
on a tabletop; wall mounting is optional.<br />
1) Make sure the location that you have selected for INSTEON Wireless Thermostat will not be affected<br />
by daily sun movement or be in direct line of sight of a nearby HVAC vent or fan<br />
2) Insert 2 AA batteries into INSTEON Wireless Thermostat (high quality alkaline batteries<br />
recommended)<br />
3) Close the INSTEON Wireless Thermostat cover<br />
Page 11 of 27 Rev: 1/21/2014 8:36 AM


