Acer Aspire 4252/4552/4552G_SG
Acer Aspire 4252/4552/4552G_SG
Acer Aspire 4252/4552/4552G_SG
Create successful ePaper yourself
Turn your PDF publications into a flip-book with our unique Google optimized e-Paper software.
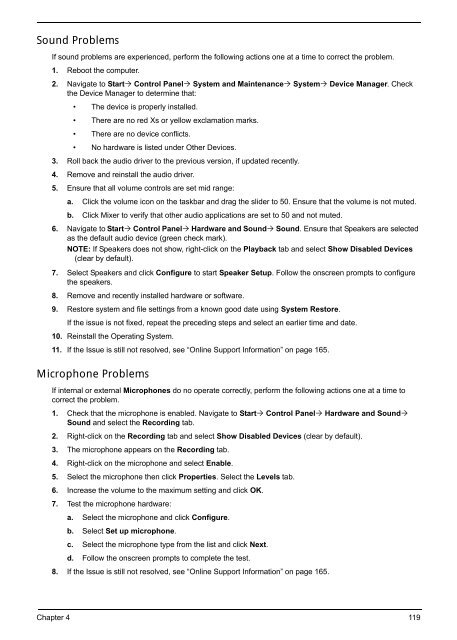
Sound Problems<br />
If sound problems are experienced, perform the following actions one at a time to correct the problem.<br />
1. Reboot the computer.<br />
2. Navigate to Start Control Panel System and Maintenance System Device Manager. Check<br />
the Device Manager to determine that:<br />
• The device is properly installed.<br />
• There are no red Xs or yellow exclamation marks.<br />
• There are no device conflicts.<br />
• No hardware is listed under Other Devices.<br />
3. Roll back the audio driver to the previous version, if updated recently.<br />
4. Remove and reinstall the audio driver.<br />
5. Ensure that all volume controls are set mid range:<br />
a. Click the volume icon on the taskbar and drag the slider to 50. Ensure that the volume is not muted.<br />
b. Click Mixer to verify that other audio applications are set to 50 and not muted.<br />
6. Navigate to Start Control Panel Hardware and Sound Sound. Ensure that Speakers are selected<br />
as the default audio device (green check mark).<br />
NOTE: If Speakers does not show, right-click on the Playback tab and select Show Disabled Devices<br />
(clear by default).<br />
7. Select Speakers and click Configure to start Speaker Setup. Follow the onscreen prompts to configure<br />
the speakers.<br />
8. Remove and recently installed hardware or software.<br />
9. Restore system and file settings from a known good date using System Restore.<br />
If the issue is not fixed, repeat the preceding steps and select an earlier time and date.<br />
10. Reinstall the Operating System.<br />
11. If the Issue is still not resolved, see “Online Support Information” on page 165.<br />
Microphone Problems<br />
If internal or external Microphones do no operate correctly, perform the following actions one at a time to<br />
correct the problem.<br />
1. Check that the microphone is enabled. Navigate to Start Control Panel Hardware and Sound<br />
Sound and select the Recording tab.<br />
2. Right-click on the Recording tab and select Show Disabled Devices (clear by default).<br />
3. The microphone appears on the Recording tab.<br />
4. Right-click on the microphone and select Enable.<br />
5. Select the microphone then click Properties. Select the Levels tab.<br />
6. Increase the volume to the maximum setting and click OK.<br />
7. Test the microphone hardware:<br />
a. Select the microphone and click Configure.<br />
b. Select Set up microphone.<br />
c. Select the microphone type from the list and click Next.<br />
d. Follow the onscreen prompts to complete the test.<br />
8. If the Issue is still not resolved, see “Online Support Information” on page 165.<br />
Chapter 4 119


