Owner's Manual
Owner's Manual
Owner's Manual

You also want an ePaper? Increase the reach of your titles
YUMPU automatically turns print PDFs into web optimized ePapers that Google loves.
Reference<br />
Installing the Rack Mount<br />
Hardware<br />
Precautions to Observe When<br />
Attaching the Rack Mount<br />
Hardware<br />
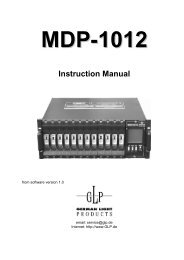
• Use the proper size Phillips head screwdriver for the screw<br />
heads (No. 2 driver). Use of a screwdriver that does not fit the<br />
screw heads may result in the heads becoming stripped.<br />
• When removing the screws, turn the screwdriver in the<br />
counterclockwise direction. To tighten the screws, turn the<br />
screwdriver in the clockwise direction.<br />
loosen<br />
tighten<br />
About Maintenance<br />
Daily Maintenance<br />
Loss of air flow due to dust accumulating at the exhaust vent may<br />
inhibit the forced cooling function. Using a vacuum cleaner or other<br />
means, regularly remove accumulations of dust from the exhaust<br />
vent and intake vent.<br />
About the Fan<br />
Malfunctioning of the fan will prevent the forced cooling function<br />
from working properly, posing the danger of overheating and other<br />
problems. If you cannot confirm that the fan is operational, please<br />
consult your Roland dealer or a Roland ED Service Station.<br />
• Remove only the specified screws when attaching the rack<br />
mount hardware.<br />
• Once the installation is complete, check it again to make sure<br />
that is has been done correctly.<br />
Instructions for Attaching the Rack<br />
Mount Hardware<br />
1. Before attaching the rack mount hardware, turn the power<br />
off to the V-440HD and all connected devices and<br />
disconnect all power cords and connection cables.<br />
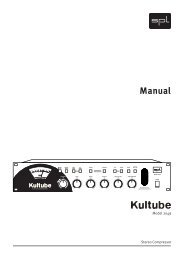
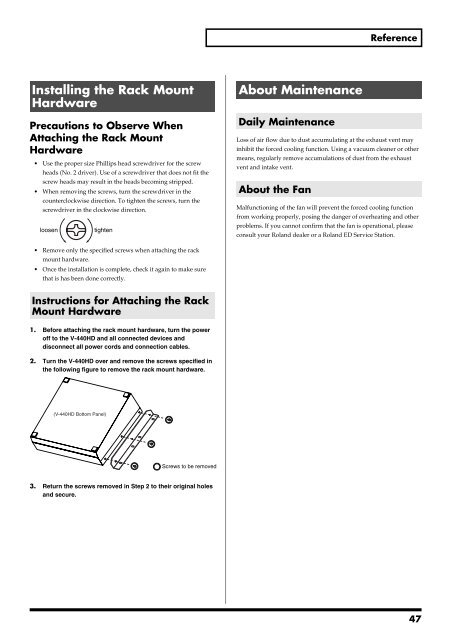
2. Turn the V-440HD over and remove the screws specified in<br />
the following figure to remove the rack mount hardware.<br />
(V-440HD Bottom Panel)<br />
Screws to be removed<br />
3. Return the screws removed in Step 2 to their original holes<br />
and secure.<br />
47