Basic Stamp 2 Robot Programming - ISL
Basic Stamp 2 Robot Programming - ISL
Basic Stamp 2 Robot Programming - ISL

Create successful ePaper yourself
Turn your PDF publications into a flip-book with our unique Google optimized e-Paper software.
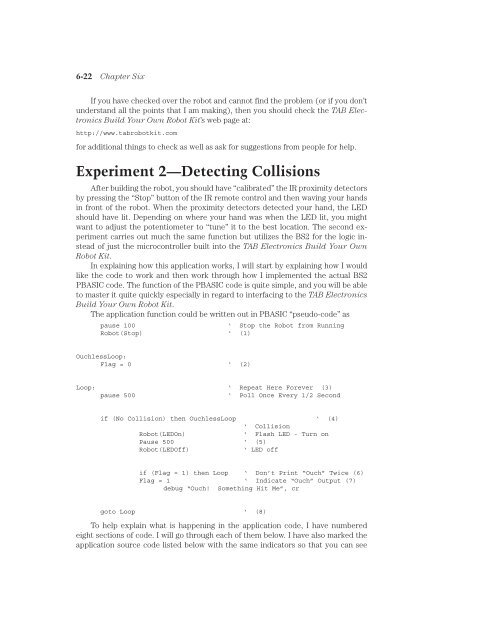
6-22 Chapter Six<br />
If you have checked over the robot and cannot find the problem (or if you don’t<br />
understand all the points that I am making), then you should check the TAB Electronics<br />
Build Your Own <strong>Robot</strong> Kit’s web page at:<br />
http://www.tabrobotkit.com<br />
for additional things to check as well as ask for suggestions from people for help.<br />
Experiment 2—Detecting Collisions<br />
After building the robot, you should have “calibrated” the IR proximity detectors<br />
by pressing the “Stop” button of the IR remote control and then waving your hands<br />
in front of the robot. When the proximity detectors detected your hand, the LED<br />
should have lit. Depending on where your hand was when the LED lit, you might<br />
want to adjust the potentiometer to “tune” it to the best location. The second experiment<br />
carries out much the same function but utilizes the BS2 for the logic instead<br />
of just the microcontroller built into the TAB Electronics Build Your Own<br />
<strong>Robot</strong> Kit.<br />
In explaining how this application works, I will start by explaining how I would<br />
like the code to work and then work through how I implemented the actual BS2<br />
PBASIC code. The function of the PBASIC code is quite simple, and you will be able<br />
to master it quite quickly especially in regard to interfacing to the TAB Electronics<br />
Build Your Own <strong>Robot</strong> Kit.<br />
The application function could be written out in PBASIC “pseudo-code” as<br />
pause 100<br />
‘ Stop the <strong>Robot</strong> from Running<br />
<strong>Robot</strong>(Stop) ‘ (1)<br />
OuchlessLoop:<br />
Flag = 0 ‘ (2)<br />
Loop: ‘ Repeat Here Forever (3)<br />
pause 500<br />
‘ Poll Once Every 1/2 Second<br />
if (No Collision) then OuchlessLoop ‘ (4)<br />
‘ Collision<br />
<strong>Robot</strong>(LEDOn)<br />
‘ Flash LED - Turn on<br />
Pause 500 ‘ (5)<br />
<strong>Robot</strong>(LEDOff)<br />
‘ LED off<br />
if (Flag = 1) then Loop ‘ Don’t Print “Ouch” Twice (6)<br />
Flag = 1 ‘ Indicate “Ouch” Output (7)<br />
debug “Ouch! Something Hit Me”, cr<br />
goto Loop ‘ (8)<br />
To help explain what is happening in the application code, I have numbered<br />
eight sections of code. I will go through each of them below. I have also marked the<br />
application source code listed below with the same indicators so that you can see