Operating Instructions Non-Contact Safety Switch CET.-AR-...-CH ...
Operating Instructions Non-Contact Safety Switch CET.-AR-...-CH ...
Operating Instructions Non-Contact Safety Switch CET.-AR-...-CH ...

You also want an ePaper? Increase the reach of your titles
YUMPU automatically turns print PDFs into web optimized ePapers that Google loves.
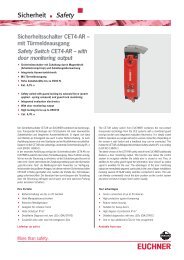
<strong>Operating</strong> <strong>Instructions</strong> <strong>Safety</strong> <strong>Switch</strong> <strong>CET</strong>.-<strong>AR</strong>-...-<strong>CH</strong>-...<br />
Start button and feedback loop (optional)<br />
Important:<br />
A start button and a feedback loop can be connected (for monitoring downstream<br />
relays and contactors).<br />
Faults on the start button are not detected. This can lead to unintentional automatic<br />
starting.<br />
On devices with start button and feedback loop, safety outputs OA and OB are<br />
switched on only when the start button is pressed and the feedback loop is closed.<br />
Start button and feedback loop must be closed for at least 500 ms.<br />
Monitoring output OUT is switched on as soon as guard locking is active. The status<br />
of the feedback loop has no influence on this (see section System status table).<br />
Important:<br />
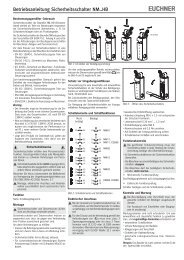
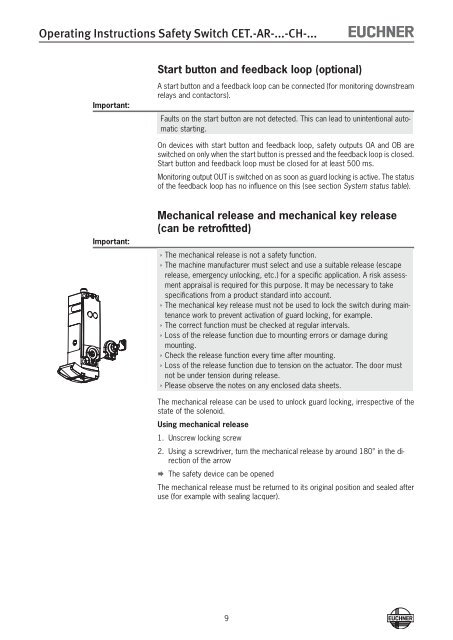
Mechanical release and mechanical key release<br />
(can be retrofitted)<br />
ÌÌThe mechanical release is not a safety function.<br />
ÌÌThe machine manufacturer must select and use a suitable release (escape<br />
release, emergency unlocking, etc.) for a specific application. A risk assessment<br />
appraisal is required for this purpose. It may be necessary to take<br />
specifications from a product standard into account.<br />
ÌÌThe mechanical key release must not be used to lock the switch during maintenance<br />
work to prevent activation of guard locking, for example.<br />
ÌÌThe correct function 5,8 must be checked at regular intervals.<br />
ÌÌLoss of the release function due to mounting errors or damage during<br />
mounting.<br />
ÌÌCheck the release function every time after mounting.<br />
ÌÌLoss of the release function due to tension on the actuator. The door must<br />
not be under tension during release.<br />
ÌÌPlease observe the notes 16,7 on any enclosed data sheets.<br />
30<br />
35,5<br />
20<br />
Ø<br />
The mechanical release can be used to unlock guard locking, irrespective of the<br />
state of the solenoid.<br />
Using mechanical release<br />
1. Unscrew locking screw<br />
2. Using a screwdriver, turn the mechanical release by around 180° in the direction<br />
of the arrow<br />
¨¨<br />
The safety device can be opened<br />
The mechanical release must be returned to its original position and sealed after<br />
use (for example with sealing lacquer).<br />
9