ENGINE SHOP REBUILD & SERVICE PARTS MANUAL - Jacobsen
ENGINE SHOP REBUILD & SERVICE PARTS MANUAL - Jacobsen
ENGINE SHOP REBUILD & SERVICE PARTS MANUAL - Jacobsen

Create successful ePaper yourself
Turn your PDF publications into a flip-book with our unique Google optimized e-Paper software.
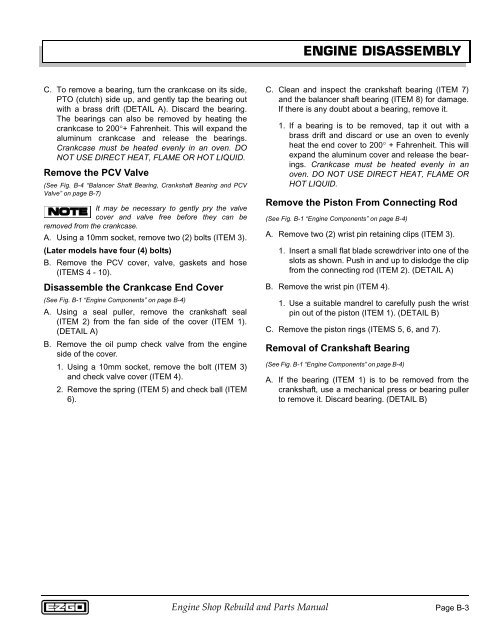
<strong>ENGINE</strong> DISASSEMBLY<br />
C. To remove a bearing, turn the crankcase on its side,<br />
PTO (clutch) side up, and gently tap the bearing out<br />
with a brass drift (DETAIL A). Discard the bearing.<br />
The bearings can also be removed by heating the<br />
crankcase to 200°+ Fahrenheit. This will expand the<br />
aluminum crankcase and release the bearings.<br />
Crankcase must be heated evenly in an oven. DO<br />
NOT USE DIRECT HEAT, FLAME OR HOT LIQUID.<br />
Remove the PCV Valve<br />
(See Fig. B-4 “Balancer Shaft Bearing, Crankshaft Bearing and PCV<br />
Valve” on page B-7)<br />
It may be necessary to gently pry the valve<br />
cover and valve free before they can be<br />
removed from the crankcase.<br />
A. Using a 10mm socket, remove two (2) bolts (ITEM 3).<br />
(Later models have four (4) bolts)<br />
B. Remove the PCV cover, valve, gaskets and hose<br />
(ITEMS 4 - 10).<br />
Disassemble the Crankcase End Cover<br />
(See Fig. B-1 “Engine Components” on page B-4)<br />
A. Using a seal puller, remove the crankshaft seal<br />
(ITEM 2) from the fan side of the cover (ITEM 1).<br />
(DETAIL A)<br />
B. Remove the oil pump check valve from the engine<br />
side of the cover.<br />
1. Using a 10mm socket, remove the bolt (ITEM 3)<br />
and check valve cover (ITEM 4).<br />
2. Remove the spring (ITEM 5) and check ball (ITEM<br />
6).<br />
C. Clean and inspect the crankshaft bearing (ITEM 7)<br />
and the balancer shaft bearing (ITEM 8) for damage.<br />
If there is any doubt about a bearing, remove it.<br />
1. If a bearing is to be removed, tap it out with a<br />
brass drift and discard or use an oven to evenly<br />
heat the end cover to 200° + Fahrenheit. This will<br />
expand the aluminum cover and release the bearings.<br />
Crankcase must be heated evenly in an<br />
oven. DO NOT USE DIRECT HEAT, FLAME OR<br />
HOT LIQUID.<br />
Remove the Piston From Connecting Rod<br />
(See Fig. B-1 “Engine Components” on page B-4)<br />
A. Remove two (2) wrist pin retaining clips (ITEM 3).<br />
1. Insert a small flat blade screwdriver into one of the<br />
slots as shown. Push in and up to dislodge the clip<br />
from the connecting rod (ITEM 2). (DETAIL A)<br />
B. Remove the wrist pin (ITEM 4).<br />
1. Use a suitable mandrel to carefully push the wrist<br />
pin out of the piston (ITEM 1). (DETAIL B)<br />
C. Remove the piston rings (ITEMS 5, 6, and 7).<br />
Removal of Crankshaft Bearing<br />
(See Fig. B-1 “Engine Components” on page B-4)<br />
A. If the bearing (ITEM 1) is to be removed from the<br />
crankshaft, use a mechanical press or bearing puller<br />
to remove it. Discard bearing. (DETAIL B)<br />
Engine Shop Rebuild and Parts Manual<br />
Page B-3