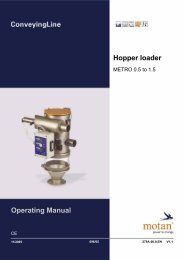
OPERATING AND MAINTENANCE INSTRUCTIONS MINICOLOR
OPERATING AND MAINTENANCE INSTRUCTIONS MINICOLOR
OPERATING AND MAINTENANCE INSTRUCTIONS MINICOLOR
- No tags were found...

You also want an ePaper? Increase the reach of your titles
YUMPU automatically turns print PDFs into web optimized ePapers that Google loves.
Operation<br />
<strong>MINICOLOR</strong><br />
− Put <strong>MINICOLOR</strong> in calibration position<br />
Fig. 5-3<br />
− Put the measuring bucket (1) under the<br />
material outlet<br />
− Fill granulate in the storage bin<br />
− Switch on On/Off switch (3, Fig. 5-1)<br />
switch lights up<br />
dosing screw operates<br />
LED "Motor" (4) lights up<br />
− Allow the dosing screw to run until the<br />
granulate is discharged constantly<br />
the dosing sleeve is now filled with material<br />
− Switch off On/Off switch<br />
switch goes out<br />
dosing screw stops<br />
LED "Motor" (4) goes out<br />
1<br />
− Empty the measuring bucket and put it again<br />
under the material outlet<br />
− Read the calibration time, according to the<br />
dosing throughput, from the<br />
performance/speed scale (Fig. 5-2),<br />
example: 5 min<br />
Fig. 5-3<br />
<strong>MINICOLOR</strong> in calibration position<br />
− Switch on On/Off switch<br />
switch lights up<br />
calibration starts<br />
LED "Motor" (4) lights up<br />
− Switch off On/Off switch at the end of the<br />
calibration time (5 minutes)<br />
switch goes out<br />
dosing screw stops<br />
LED "Motor" (4) goes out<br />
− Weigh calibration quantity in the measuring<br />
bucket<br />
(Example: 490 g)<br />
5.2