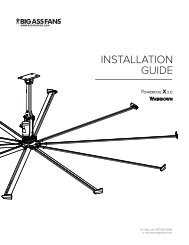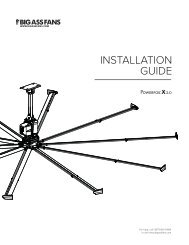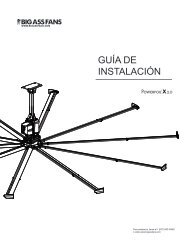
Isis Installation Guide - Big Ass Fans
Isis Installation Guide - Big Ass Fans
Isis Installation Guide - Big Ass Fans

You also want an ePaper? Increase the reach of your titles
YUMPU automatically turns print PDFs into web optimized ePapers that Google loves.
<strong>Isis</strong> ®<br />
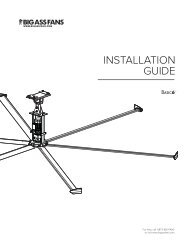
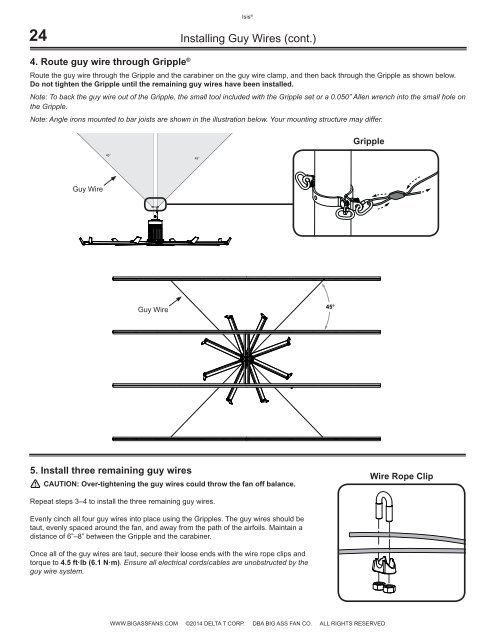
24 Installing Guy Wires (cont.)<br />
4. Route guy wire through Gripple ®<br />
Route the guy wire through the Gripple and the carabiner on the guy wire clamp, and then back through the Gripple as shown below.<br />
Do not tighten the Gripple until the remaining guy wires have been installed.<br />
Note: To back the guy wire out of the Gripple, the small tool included with the Gripple set or a 0.050” Allen wrench into the small hole on<br />
the Gripple.<br />
Note: Angle irons mounted to bar joists are shown in the illustration below. Your mounting structure may differ.<br />
Gripple<br />
45˚<br />
45˚<br />
Guy Wire<br />
Guy Wire<br />
45°<br />
5. Install three remaining guy wires<br />
CAUTION: Over-tightening the guy wires could throw the fan off balance.<br />
Wire Rope Clip<br />
Repeat steps 3–4 to install the three remaining guy wires.<br />
Evenly cinch all four guy wires into place using the Gripples. The guy wires should be<br />
taut, evenly spaced around the fan, and away from the path of the airfoils. Maintain a<br />
distance of 6”–8” between the Gripple and the carabiner.<br />
Once all of the guy wires are taut, secure their loose ends with the wire rope clips and<br />
torque to 4.5 ft·lb (6.1 N·m). Ensure all electrical cords/cables are unobstructed by the<br />
guy wire system.<br />
WWW.BIGASSFANS.COM ©2014 DELTA T CORP. DBA BIG ASS FAN CO. ALL RIGHTS RESERVED