Allegro RED Owner's Manual - Tiffin Motorhomes
Allegro RED Owner's Manual - Tiffin Motorhomes
Allegro RED Owner's Manual - Tiffin Motorhomes
- No tags were found...

You also want an ePaper? Increase the reach of your titles
YUMPU automatically turns print PDFs into web optimized ePapers that Google loves.
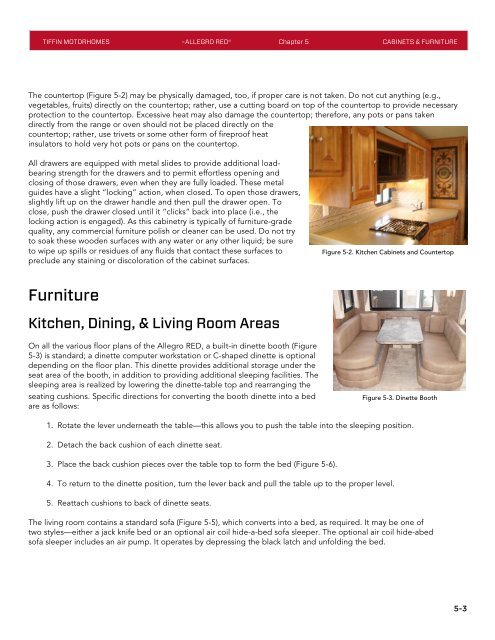
TIFFIN MOTORHOMES –ALLEGRO <strong>RED</strong>® Chapter 5 CABINETS & FURNITUREThe countertop (Figure 5-2) may be physically damaged, too, if proper care is not taken. Do not cut anything (e.g.,vegetables, fruits) directly on the countertop; rather, use a cutting board on top of the countertop to provide necessaryprotection to the countertop. Excessive heat may also damage the countertop; therefore, any pots or pans takendirectly from the range or oven should not be placed directly on thecountertop; rather, use trivets or some other form of fireproof heatinsulators to hold very hot pots or pans on the countertop.All drawers are equipped with metal slides to provide additional loadbearingstrength for the drawers and to permit effortless opening andclosing of those drawers, even when they are fully loaded. These metalguides have a slight “locking” action, when closed. To open those drawers,slightly lift up on the drawer handle and then pull the drawer open. Toclose, push the drawer closed until it “clicks” back into place (i.e., thelocking action is engaged). As this cabinetry is typically of furniture-gradequality, any commercial furniture polish or cleaner can be used. Do not tryto soak these wooden surfaces with any water or any other liquid; be sureto wipe up spills or residues of any fluids that contact these surfaces topreclude any staining or discoloration of the cabinet surfaces.Figure 5-2. Kitchen Cabinets and CountertopFurnitureKitchen, Dining, & Living Room AreasOn all the various floor plans of the <strong>Allegro</strong> <strong>RED</strong>, a built-in dinette booth (Figure5-3) is standard; a dinette computer workstation or C-shaped dinette is optionaldepending on the floor plan. This dinette provides additional storage under theseat area of the booth, in addition to providing additional sleeping facilities. Thesleeping area is realized by lowering the dinette-table top and rearranging theseating cushions. Specific directions for converting the booth dinette into a bedare as follows:Figure 5-3. Dinette Booth1. Rotate the lever underneath the table—this allows you to push the table into the sleeping position.2. Detach the back cushion of each dinette seat.3. Place the back cushion pieces over the table top to form the bed (Figure 5-6).4. To return to the dinette position, turn the lever back and pull the table up to the proper level.5. Reattach cushions to back of dinette seats.The living room contains a standard sofa (Figure 5-5), which converts into a bed, as required. It may be one oftwo styles—either a jack knife bed or an optional air coil hide-a-bed sofa sleeper. The optional air coil hide-abedsofa sleeper includes an air pump. It operates by depressing the black latch and unfolding the bed.5-3