

Tracer AV Installation Manual - Rice Lake Weighing Systems
Tracer AV Installation Manual - Rice Lake Weighing Systems
Tracer AV Installation Manual - Rice Lake Weighing Systems

You also want an ePaper? Increase the reach of your titles
YUMPU automatically turns print PDFs into web optimized ePapers that Google loves.
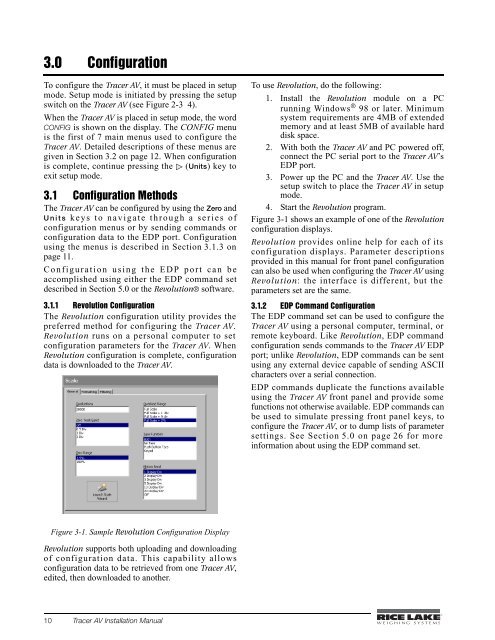
3.0 ConfigurationTo configure the <strong>Tracer</strong> <strong>AV</strong>, it must be placed in setupmode. Setup mode is initiated by pressing the setupswitch on the <strong>Tracer</strong> <strong>AV</strong> (see Figure 2-3 4).When the <strong>Tracer</strong> <strong>AV</strong> is placed in setup mode, the wordCONFIG is shown on the display. The CONFIG menuis the first of 7 main menus used to configure the<strong>Tracer</strong> <strong>AV</strong>. Detailed descriptions of these menus aregiven in Section 3.2 on page 12. When configurationis complete, continue pressing the (Units) key toexit setup mode.3.1 Configuration MethodsThe <strong>Tracer</strong> <strong>AV</strong> can be configured by using the Zero andUnits keys to navigate through a series ofconfiguration menus or by sending commands orconfiguration data to the EDP port. Configurationusing the menus is described in Section 3.1.3 onpage 11.Configuration using the EDP port can beaccomplished using either the EDP command setdescribed in Section 5.0 or the Revolution® software.3.1.1 Revolution ConfigurationThe Revolution configuration utility provides thepreferred method for configuring the <strong>Tracer</strong> <strong>AV</strong>.Revolution runs on a personal computer to setconfiguration parameters for the <strong>Tracer</strong> <strong>AV</strong>. WhenRevolution configuration is complete, configurationdata is downloaded to the <strong>Tracer</strong> <strong>AV</strong>.To use Revolution, do the following:1. Install the Revolution module on a PCrunning Windows ® 98 or later. Minimumsystem requirements are 4MB of extendedmemory and at least 5MB of available harddisk space.2. With both the <strong>Tracer</strong> <strong>AV</strong> and PC powered off,connect the PC serial port to the <strong>Tracer</strong> <strong>AV</strong>’sEDP port.3. Power up the PC and the <strong>Tracer</strong> <strong>AV</strong>. Use thesetup switch to place the <strong>Tracer</strong> <strong>AV</strong> in setupmode.4. Start the Revolution program.Figure 3-1 shows an example of one of the Revolutionconfiguration displays.Revolution provides online help for each of itsconfiguration displays. Parameter descriptionsprovided in this manual for front panel configurationcan also be used when configuring the <strong>Tracer</strong> <strong>AV</strong> usingRevolution: the interface is different, but theparameters set are the same.3.1.2 EDP Command ConfigurationThe EDP command set can be used to configure the<strong>Tracer</strong> <strong>AV</strong> using a personal computer, terminal, orremote keyboard. Like Revolution, EDP commandconfiguration sends commands to the <strong>Tracer</strong> <strong>AV</strong> EDPport; unlike Revolution, EDP commands can be sentusing any external device capable of sending ASCIIcharacters over a serial connection.EDP commands duplicate the functions availableusing the <strong>Tracer</strong> <strong>AV</strong> front panel and provide somefunctions not otherwise available. EDP commands canbe used to simulate pressing front panel keys, toconfigure the <strong>Tracer</strong> <strong>AV</strong>, or to dump lists of parametersettings. See Section 5.0 on page 26 for moreinformation about using the EDP command set.Figure 3-1. Sample Revolution Configuration DisplayRevolution supports both uploading and downloadingof configuration data. This capability allowsconfiguration data to be retrieved from one <strong>Tracer</strong> <strong>AV</strong>,edited, then downloaded to another.10 <strong>Tracer</strong> <strong>AV</strong> <strong>Installation</strong> <strong>Manual</strong>


