
Create successful ePaper yourself
Turn your PDF publications into a flip-book with our unique Google optimized e-Paper software.
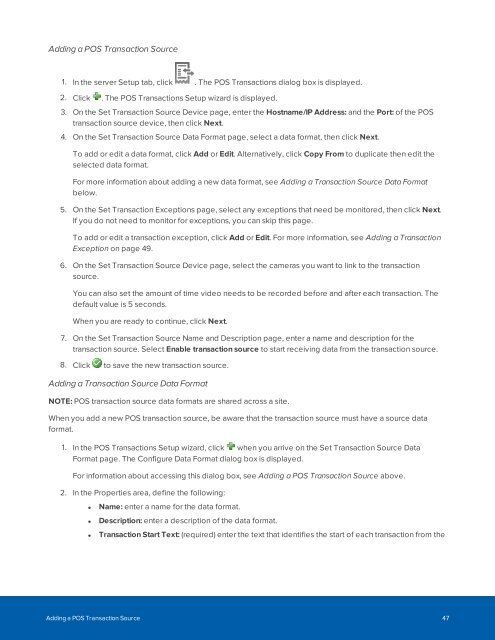
Adding a POS Transaction Source<br />
1. In the server Setup tab, click . The POS Transactions dialog box is displayed.<br />
2. Click . The POS Transactions Setup wizard is displayed.<br />
3. On the Set Transaction Source Device page, enter the Hostname/IP Address: and the Port: of the POS<br />
transaction source device, then click Next.<br />
4. On the Set Transaction Source Data Format page, select a data format, then click Next.<br />
To add or edit a data format, click Add or Edit. Alternatively, click Copy From to duplicate then edit the<br />
selected data format.<br />
For more information about adding a new data format, see Adding a Transaction Source Data Format<br />
below.<br />
5. On the Set Transaction Exceptions page, select any exceptions that need be monitored, then click Next.<br />
If you do not need to monitor for exceptions, you can skip this page.<br />
To add or edit a transaction exception, click Add or Edit. For more information, see Adding a Transaction<br />
Exception on page 49.<br />
6. On the Set Transaction Source Device page, select the cameras you want to link to the transaction<br />
source.<br />
You can also set the amount of time video needs to be recorded before and after each transaction. The<br />
default value is 5 seconds.<br />
When you are ready to continue, click Next.<br />
7. On the Set Transaction Source Name and Description page, enter a name and description for the<br />
transaction source. Select Enable transaction source to start receiving data from the transaction source.<br />
8. Click to save the new transaction source.<br />
Adding a Transaction Source Data Format<br />
NOTE: POS transaction source data formats are shared across a site.<br />
When you add a new POS transaction source, be aware that the transaction source must have a source data<br />
format.<br />
1. In the POS Transactions Setup wizard, click when you arrive on the Set Transaction Source Data<br />
Format page. The Configure Data Format dialog box is displayed.<br />
For information about accessing this dialog box, see Adding a POS Transaction Source above.<br />
2. In the Properties area, define the following:<br />
• Name: enter a name for the data format.<br />
• Description: enter a description of the data format.<br />
• Transaction Start Text: (required) enter the text that identifies the start of each transaction from the<br />
Adding a POS Transaction Source 47