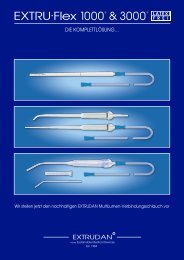

Create successful ePaper yourself
Turn your PDF publications into a flip-book with our unique Google optimized e-Paper software.
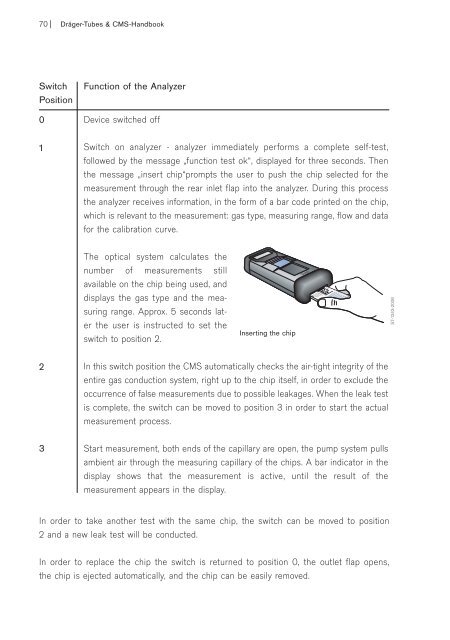
70| Dräger-<strong>Tubes</strong> & CMS-<strong>Handbook</strong><br />
Switch<br />
Position<br />
0<br />
1<br />
Function of the Analyzer<br />
Device switched off<br />
Switch on analyzer - analyzer immediately performs a complete self-test,<br />
followed by the message „function test ok“, displayed for three seconds. Then<br />
the message „insert chip“prompts the user to push the chip selected for the<br />
measurement through the rear inlet flap into the analyzer. During this process<br />
the analyzer receives information, in the form of a bar code printed on the chip,<br />
which is relevant to the measurement: gas type, measuring range, flow and data<br />
for the calibration curve.<br />
The optical system calculates the<br />
number of measurements still<br />
available on the chip being used, and<br />
displays the gas type and the mea -<br />
suring range. Approx. 5 seconds later<br />
the user is instructed to set the<br />
switch to position 2.<br />
Inserting the chip<br />
ST-1243-2008<br />
2<br />
3<br />
In this switch position the CMS automatically checks the air-tight integrity of the<br />
entire gas conduction system, right up to the chip itself, in order to exclude the<br />
occurrence of false measurements due to possible leakages. When the leak test<br />
is complete, the switch can be moved to position 3 in order to start the actual<br />
measurement process.<br />
Start measurement, both ends of the capillary are open, the pump system pulls<br />
ambient air through the measuring capillary of the chips. A bar indicator in the<br />
display shows that the measurement is active, until the result of the<br />
measurement appears in the display.<br />
In order to take another test with the same chip, the switch can be moved to position<br />
2 and a new leak test will be conducted.<br />
In order to replace the chip the switch is returned to position 0, the outlet flap opens,<br />
the chip is ejected automatically, and the chip can be easily removed.