ā Evacuated Solar Energy Collector Technical Reference
ā Evacuated Solar Energy Collector Technical Reference
ā Evacuated Solar Energy Collector Technical Reference

Create successful ePaper yourself
Turn your PDF publications into a flip-book with our unique Google optimized e-Paper software.
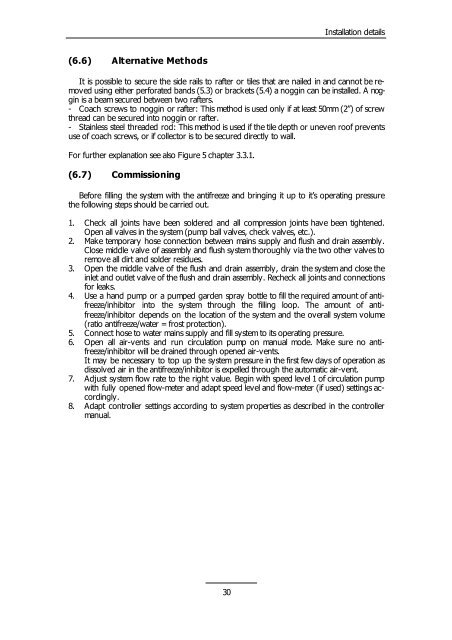
(6.6) Alternative Methods<br />
Installation details<br />
It is possible to secure the side rails to rafter or tiles that are nailed in and cannot be removed<br />
using either perforated bands (5.3) or brackets (5.4) a noggin can be installed. A noggin<br />
is a beam secured between two rafters.<br />
- Coach screws to noggin or rafter: This method is used only if at least 50mm (2”) of screw<br />
thread can be secured into noggin or rafter.<br />
- Stainless steel threaded rod: This method is used if the tile depth or uneven roof prevents<br />
use of coach screws, or if collector is to be secured directly to wall.<br />
For further explanation see also Figure 5 chapter 3.3.1.<br />
(6.7) Commissioning<br />
Before filling the system with the antifreeze and bringing it up to it’s operating pressure<br />
the following steps should be carried out.<br />
1. Check all joints have been soldered and all compression joints have been tightened.<br />
Open all valves in the system (pump ball valves, check valves, etc.).<br />
2. Make temporary hose connection between mains supply and flush and drain assembly.<br />
Close middle valve of assembly and flush system thoroughly via the two other valves to<br />
remove all dirt and solder residues.<br />
3. Open the middle valve of the flush and drain assembly, drain the system and close the<br />
inlet and outlet valve of the flush and drain assembly. Recheck all joints and connections<br />
for leaks.<br />
4. Use a hand pump or a pumped garden spray bottle to fill the required amount of antifreeze/inhibitor<br />
into the system through the filling loop. The amount of antifreeze/inhibitor<br />
depends on the location of the system and the overall system volume<br />
(ratio antifreeze/water = frost protection).<br />
5. Connect hose to water mains supply and fill system to its operating pressure.<br />
6. Open all air-vents and run circulation pump on manual mode. Make sure no antifreeze/inhibitor<br />
will be drained through opened air-vents.<br />
It may be necessary to top up the system pressure in the first few days of operation as<br />
dissolved air in the antifreeze/inhibitor is expelled through the automatic air-vent.<br />
7. Adjust system flow rate to the right value. Begin with speed level 1 of circulation pump<br />
with fully opened flow-meter and adapt speed level and flow-meter (if used) settings accordingly.<br />
8. Adapt controller settings according to system properties as described in the controller<br />
manual.<br />
30