


Create successful ePaper yourself
Turn your PDF publications into a flip-book with our unique Google optimized e-Paper software.
2: Disassembly<br />
Overview<br />
This chapter prov<strong>id</strong>es step-by-step instructions for disassembling the M860TU series notebook’s parts and subsystems.<br />
When it comes to reassembly, reverse the procedures (unless otherwise indicated).<br />
We suggest you completely review any procedure before you take the computer apart.<br />
Procedures such as upgrading/replacing the RAM, CD device and hard disk are included in the User’s Manual but are<br />
repeated here for your convenience.<br />
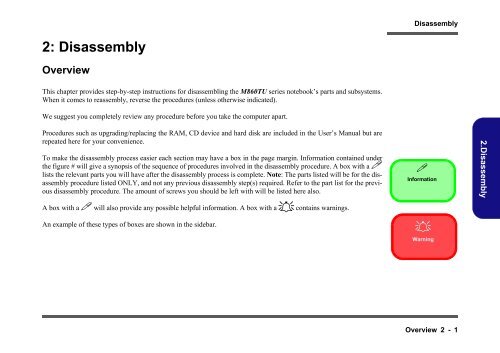
To make the disassembly process easier each section may have a box in the page margin. Information contained under<br />
the figure # will give a synopsis of the sequence of procedures involved in the disassembly procedure. A box with a �<br />
lists the relevant parts you will have after the disassembly process is complete. Note: The parts listed will be for the disassembly<br />
procedure listed ONLY, and not any previous disassembly step(s) required. Refer to the part list for the previous<br />
disassembly procedure. The amount of screws you should be left with will be listed here also.<br />
A box with a � will also prov<strong>id</strong>e any possible helpful information. A box with a � contains warnings.<br />
An example of these types of boxes are shown in the s<strong>id</strong>ebar.<br />
Disassembly<br />
�<br />
Information<br />
�<br />
Warning<br />
Overview 2 - 1<br />
2.Disassembly


