Control de temperatura - ManageMyLife
Control de temperatura - ManageMyLife
Control de temperatura - ManageMyLife
Create successful ePaper yourself
Turn your PDF publications into a flip-book with our unique Google optimized e-Paper software.
ICE AN D WATER<br />
Automatic Ice Maker<br />
(select mo<strong>de</strong>ls)<br />
refrigerator at the time of purchase do not inclu<strong>de</strong><br />
I ote: Energy rating gui<strong>de</strong>s that are posted on the<br />
optional ice maker energy usage.<br />
Some mo<strong>de</strong>ls are automatic ice maker ready. The<br />
number of the appropriate ice maker kit is IC10S. The<br />
kit contains installation instructions and water<br />
connection instructions.<br />
Other mo<strong>de</strong>ls have a factory installed ice maker.<br />
Connect the ice maker to the water supply as<br />
instructed on pages 6-7. Proper water flow and a<br />
level refrigerator are essential for optimal ice<br />
maker performance.<br />
Operating Instructions<br />
•Confirrn ice bin is in place and ice maker arrn is<br />
down.<br />
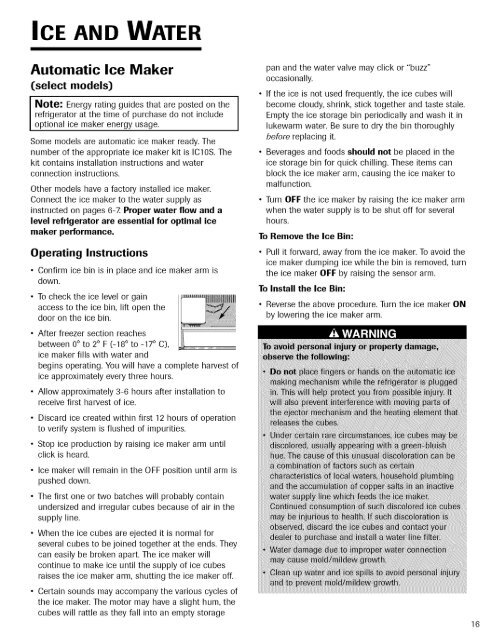
• To check the ice level or gain<br />
access to the ice bin, lift open the<br />
door on the ice bin.<br />
• After freezer section reaches<br />
between 0° to 2° F (-18 ° to -17 ° C),<br />
ice maker fills with water and<br />
begins operating. You will have a complete harvest of<br />
ice approximately every three hours.<br />
• Allow approximately 3-6 hours after installation to<br />
receive first harvest of ice.<br />
• Discard ice created within first 12 hours of operation<br />
to verify system is flushed of impurities.<br />
• Stop ice production by raising ice maker arm until<br />
click is heard.<br />
• Ice maker will remain in the OFF position until arm is<br />
pushed down.<br />
• The first one or two batches will probably contain<br />
un<strong>de</strong>rsized and irregular cubes because of air in the<br />
supply line.<br />
• When the ice cubes are ejected it is normal for<br />
several cubes to be joined together at the ends. They<br />
can easily be broken apart. The ice maker will<br />
continue to make ice until the supply of ice cubes<br />
raises the ice maker arm, shutting the ice maker off.<br />
• Certain sounds may accompany the various cycles of<br />
the ice maker. The motor may have a slight hum, the<br />
cubes will rattle as they fall into an empty storage<br />
pan and the water valve may click or "buzz"<br />
occasionally.<br />
• If the ice is not used frequently, the ice cubes will<br />
become cloudy, shrink, stick together and taste stale.<br />
Empty the ice storage bin periodically and wash it in<br />
lukewarm water. Be sure to dry the bin thoroughly<br />
before replacing it.<br />
• Beverages and foods should not be placed in the<br />
ice storage bin for quick chilling. These items can<br />
block the ice maker arm, causing the ice maker to<br />
malfunction.<br />
• Turn OFF the ice maker by raising the ice maker arm<br />
when the water supply is to be shut off for several<br />
hours.<br />
To Remove the Ice Bin:<br />
• Pull it forward, away from the ice maker. To avoid the<br />
ice maker dumping ice while the bin is removed, turn<br />
the ice maker OFF by raising the sensor arm.<br />
To Install the Ice Bin:<br />
• Reverse the above procedure. Turn the ice maker ON<br />
by lowering the ice maker arm.<br />
16


