Control de temperatura - ManageMyLife
Control de temperatura - ManageMyLife
Control de temperatura - ManageMyLife

Create successful ePaper yourself
Turn your PDF publications into a flip-book with our unique Google optimized e-Paper software.
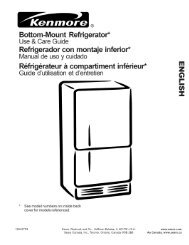
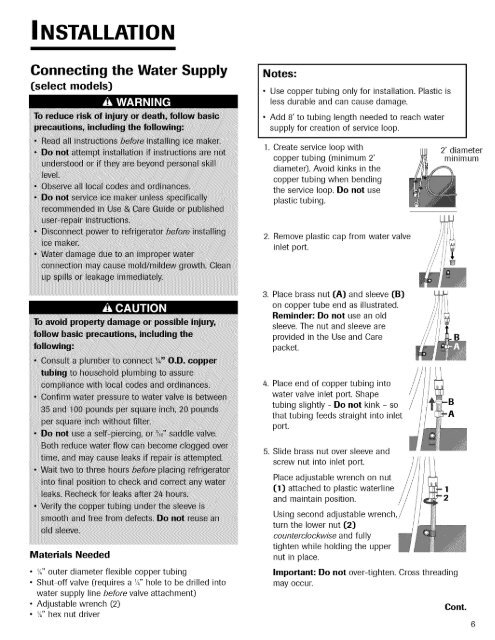
I NSTALLATI O N<br />
Connecting the Water Supply<br />
(select mo<strong>de</strong>ls)<br />
Materials Nee<strong>de</strong>d<br />
• '/4"outer diameter flexible copper tubing<br />
• Shut-off valve (requires a '/4" hole to be drilled into<br />
water supply line before valve attachment)<br />
• Adjustable wrench (2)<br />
• '//' hex nut driver<br />
Notes:<br />
• Use copper tubing only for installation. Plastic is<br />
less durable and can cause damage.<br />
• Add 8' to tubing length nee<strong>de</strong>d to reach water<br />
supply for creation of service loop.<br />
Create service loop with<br />
copper tubing (minimum 2'<br />
diamete0. Avoid kinks in the<br />
copper tubing when bending<br />
the service loop. Do not use<br />
plastic tubing.<br />
2. Remove plastic cap from water valve<br />
inlet port.<br />
3. Place brass nut (A) and sleeve (B)<br />
on copper tube end as illustrated.<br />
Remin<strong>de</strong>r: Do not use an old<br />
sleeve. The nut and sleeve are<br />
provi<strong>de</strong>d in the Use and Care<br />
packet.<br />
. Place end of copper tubing into<br />
water valve inlet port. Shape<br />
tubing slightly - Do not kink - so<br />
that tubing<br />
port.<br />
feeds straight into inlet<br />
5. Sli<strong>de</strong> brass nut over sleeve and<br />
screw nut into inlet port.<br />
Place adjustable wrench on nut<br />
(1) attached to plastic waterline<br />
and maintain position.<br />
Using second adjustable wrench<br />
turn the lower nut (2)<br />
counterclockwise and fully<br />
tighten while holding the upper<br />
nut in place.<br />
Important: Do not over-tighten. Cross threading<br />
may occur.<br />
2' diameter<br />
minimum<br />
Cont.