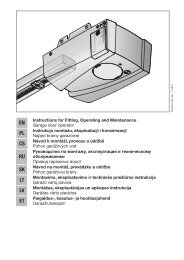
Template BA B168xH238 - Sklep Hormann
Template BA B168xH238 - Sklep Hormann
Template BA B168xH238 - Sklep Hormann

You also want an ePaper? Increase the reach of your titles
YUMPU automatically turns print PDFs into web optimized ePapers that Google loves.
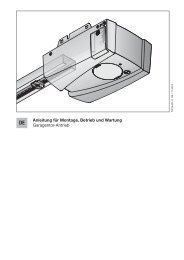
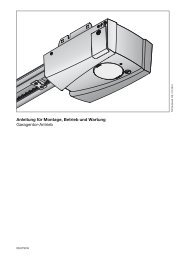
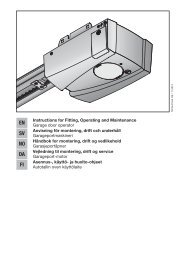
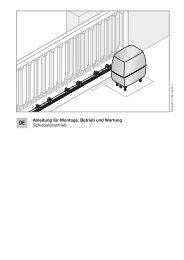
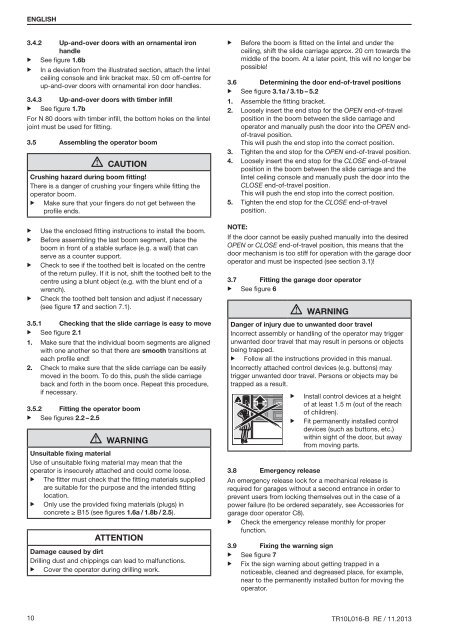
ENGLISH3.4.2 Up-and-over doors with an ornamental ironhandle▶ See figure 1.6b▶ In a deviation from the illustrated section, attach the lintelceiling console and link bracket max. 50 cm off-centre forup-and-over doors with ornamental iron door handles.3.4.3 Up-and-over doors with timber infill▶ See figure 1.7bFor N 80 doors with timber infill, the bottom holes on the linteljoint must be used for fitting.3.5 Assembling the operator boomCAUTIONCrushing hazard during boom fitting!There is a danger of crushing your fingers while fitting theoperator boom.▶ Make sure that your fingers do not get between theprofile ends.▶▶▶▶Use the enclosed fitting instructions to install the boom.Before assembling the last boom segment, place theboom in front of a stable surface (e.g. a wall) that canserve as a counter support.Check to see if the toothed belt is located on the centreof the return pulley. If it is not, shift the toothed belt to thecentre using a blunt object (e.g. with the blunt end of awrench).Check the toothed belt tension and adjust if necessary(see figure 17 and section 7.1).3.5.1 Checking that the slide carriage is easy to move▶ See figure 2.11. Make sure that the individual boom segments are alignedwith one another so that there are smooth transitions ateach profile end!2. Check to make sure that the slide carriage can be easilymoved in the boom. To do this, push the slide carriageback and forth in the boom once. Repeat this procedure,if necessary.3.5.2 Fitting the operator boom▶ See figures 2.2 – 2.5WARNINGUnsuitable fixing materialUse of unsuitable fixing material may mean that theoperator is insecurely attached and could come loose.▶ The fitter must check that the fitting materials suppliedare suitable for the purpose and the intended fittinglocation.▶ Only use the provided fixing materials (plugs) inconcrete ≥ B15 (see figures 1.6a / 1.8b / 2.5).ATTENTIONDamage caused by dirtDrilling dust and chippings can lead to malfunctions.▶ Cover the operator during drilling work.▶Before the boom is fitted on the lintel and under theceiling, shift the slide carriage approx. 20 cm towards themiddle of the boom. At a later point, this will no longer bepossible!3.6 Determining the door end-of-travel positions▶ See figure 3.1a / 3.1b – 5.21. Assemble the fitting bracket.2. Loosely insert the end stop for the OPEN end-of-travelposition in the boom between the slide carriage andoperator and manually push the door into the OPEN endof-travelposition.This will push the end stop into the correct position.3. Tighten the end stop for the OPEN end-of-travel position.4. Loosely insert the end stop for the CLOSE end-of-travelposition in the boom between the slide carriage and thelintel ceiling console and manually push the door into theCLOSE end-of-travel position.This will push the end stop into the correct position.5. Tighten the end stop for the CLOSE end-of-travelposition.Note:If the door cannot be easily pushed manually into the desiredOPEN or CLOSE end-of-travel position, this means that thedoor mechanism is too stiff for operation with the garage dooroperator and must be inspected (see section 3.1)!3.7 Fitting the garage door operator▶ See figure 6WARNINGDanger of injury due to unwanted door travelIncorrect assembly or handling of the operator may triggerunwanted door travel that may result in persons or objectsbeing trapped.▶ Follow all the instructions provided in this manual.Incorrectly attached control devices (e.g. buttons) maytrigger unwanted door travel. Persons or objects may betrapped as a result.▶▶Install control devices at a heightof at least 1.5 m (out of the reachof children).Fit permanently installed controldevices (such as buttons, etc.)within sight of the door, but awayfrom moving parts.3.8 Emergency releaseAn emergency release lock for a mechanical release isrequired for garages without a second entrance in order toprevent users from locking themselves out in the case of apower failure (to be ordered separately, see Accessories forgarage door operator C8).▶ Check the emergency release monthly for properfunction.3.9 Fixing the warning sign▶ See figure 7▶ Fix the sign warning about getting trapped in anoticeable, cleaned and degreased place, for example,near to the permanently installed button for moving theoperator.10 TR10L016-B RE / 11.2013