

Final Fairing & Finishing - WEST SYSTEM Epoxy
Final Fairing & Finishing - WEST SYSTEM Epoxy
Final Fairing & Finishing - WEST SYSTEM Epoxy

You also want an ePaper? Increase the reach of your titles
YUMPU automatically turns print PDFs into web optimized ePapers that Google loves.
The standard method relies on your eye or a batten to judge the application and removal<br />
of the fairing compound. It is the method most often used, but requires some experience<br />
and/or a good eye to fair very large areas efficiently.<br />
The notched trowel method is a variation of the standard method that makes it easier<br />
to sand larger areas. It also relies on your eye to judge the application of the fairing<br />
compound.<br />
The batten guide method involves more steps than the standard or notched methods,<br />
but offers a more efficient application of the fairing compound.<br />
The template guide method, similar to the batten guide method, is useful when the surface<br />
must describe a specific shape very accurately. It is often used to produce accurately<br />
faired keel and rudder foils.<br />
Standard method<br />
This method requires you to judge the application of the fairing compound visually<br />
and with the aid of a batten. You may need to repeat the process several times to reach a<br />
fair surface; however, you should become more efficient with practice.<br />
1. Be sure surfaces to be coated are clean, dry and sanded. Clean contaminated fiberglass<br />
or metal surfaces with solvent before sanding. Sand or grind metal surfaces with a<br />
coarse grit to remove oxidation and provide a texture for the epoxy to key into. Before<br />
coating, identify the low areas by feel or with a batten and estimate the volume of filler<br />
required to slightly overfill the void.<br />
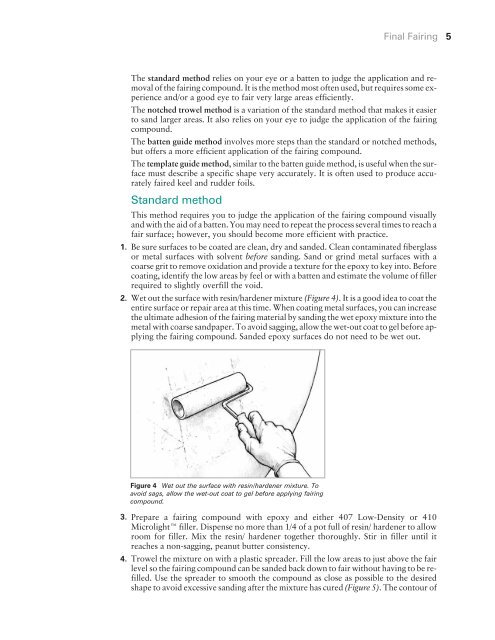
2. Wet out the surface with resin/hardener mixture (Figure 4). It is a good idea to coat the<br />
entire surface or repair area at this time. When coating metal surfaces, you can increase<br />
the ultimate adhesion of the fairing material by sanding the wet epoxy mixture into the<br />
metal with coarse sandpaper. To avoid sagging, allow the wet-out coat to gel before applying<br />
the fairing compound. Sanded epoxy surfaces do not need to be wet out.<br />
Figure 4 Wet out the surface with resin/hardener mixture. To<br />
avoid sags, allow the wet-out coat to gel before applying fairing<br />
compound.<br />
<strong>Final</strong> <strong>Fairing</strong> 5<br />
3. Prepare a fairing compound with epoxy and either 407 Low-Density or 410<br />
Microlight filler. Dispense no more than 1/4 of a pot full of resin/ hardener to allow<br />
room for filler. Mix the resin/ hardener together thoroughly. Stir in filler until it<br />
reaches a non-sagging, peanut butter consistency.<br />
4. Trowel the mixture on with a plastic spreader. Fill the low areas to just above the fair<br />
level so the fairing compound can be sanded back down to fair without having to be refilled.<br />
Use the spreader to smooth the compound as close as possible to the desired<br />
shape to avoid excessive sanding after the mixture has cured (Figure 5). The contour of


