Download PDF: AKVIS Enhancer
Download PDF: AKVIS Enhancer
Download PDF: AKVIS Enhancer

You also want an ePaper? Increase the reach of your titles
YUMPU automatically turns print PDFs into web optimized ePapers that Google loves.
HOW IT WORKS<br />
<strong>AKVIS</strong> <strong>Enhancer</strong> offers an individual approach to every part of the photo. The software can work<br />
independently as a standalone program as well as a plug-in to a photo editor.<br />
Follow the instructions below:<br />
¡ Step 1. Run the standalone edition of <strong>AKVIS</strong> <strong>Enhancer</strong> or open your photo editor (if you work<br />
with the plugin version of <strong>AKVIS</strong> <strong>Enhancer</strong>).<br />
¡ Step 2. Open an image.<br />
- If you work with the plug-in:<br />
Open an image in your photo editor by calling the command File -> Open or using the key<br />
combination Ctrl +O ( +O on Macintosh).<br />
- If you work with the standalone edition:<br />
The dialog box Select file to open appears if you double-click on the empty workspace of the<br />
program or if you click on the button on the Control Panel. You can also drag the required<br />
image into the workspace of the program.<br />
The program supports images in the JPEG, TIFF, BMP, PNG formats and opens RAW files which<br />
contain raw sensor data of digital cameras (CRW, NEF, ORF, PEF etc - see the full list here).<br />
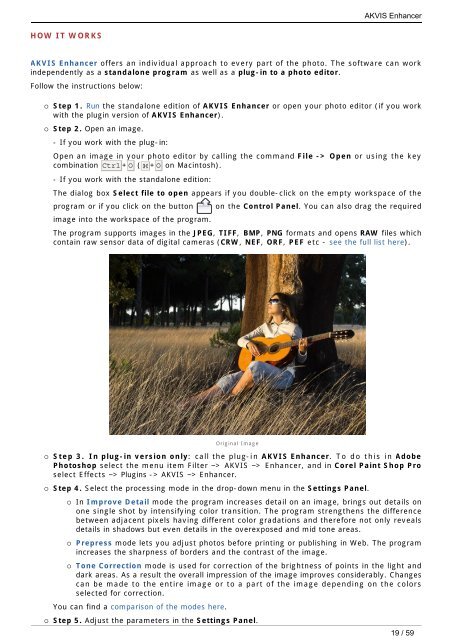
Original Image<br />
¡ Step 3. In plug-in version only: call the plug-in <strong>AKVIS</strong> <strong>Enhancer</strong>. To do this in Adobe<br />
Photoshop select the menu item Filter –> <strong>AKVIS</strong> –> <strong>Enhancer</strong>, and in Corel Paint Shop Pro<br />
select Effects –> Plugins -> <strong>AKVIS</strong> –> <strong>Enhancer</strong>.<br />
¡ Step 4. Select the processing mode in the drop-down menu in the Settings Panel.<br />
¡ In Improve Detail mode the program increases detail on an image, brings out details on<br />
one single shot by intensifying color transition. The program strengthens the difference<br />
between adjacent pixels having different color gradations and therefore not only reveals<br />
details in shadows but even details in the overexposed and mid tone areas.<br />
¡ Prepress mode lets you adjust photos before printing or publishing in Web. The program<br />
increases the sharpness of borders and the contrast of the image.<br />
¡ Tone Correction mode is used for correction of the brightness of points in the light and<br />
dark areas. As a result the overall impression of the image improves considerably. Changes<br />
can be made to the entire image or to a part of the image depending on the colors<br />
selected for correction.<br />
You can find a comparison of the modes here.<br />
¡ Step 5. Adjust the parameters in the Settings Panel.<br />
<strong>AKVIS</strong> <strong>Enhancer</strong><br />
19 / 59