Modular Multitrack Recorder - Tascam
Modular Multitrack Recorder - Tascam
Modular Multitrack Recorder - Tascam

You also want an ePaper? Increase the reach of your titles
YUMPU automatically turns print PDFs into web optimized ePapers that Google loves.
52<br />
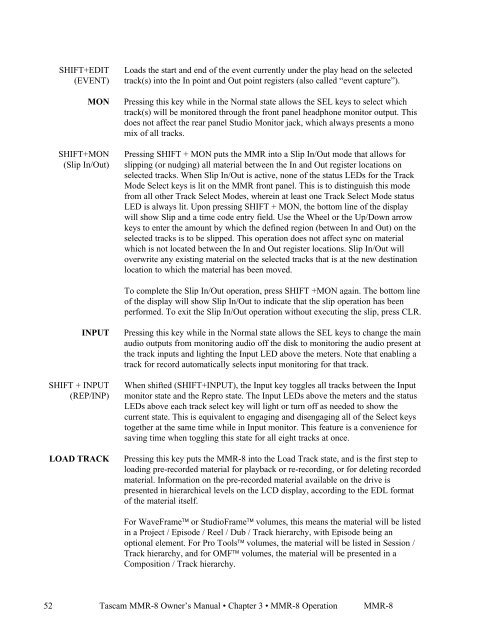
SHIFT+EDIT<br />
(EVENT)<br />
SHIFT+MON<br />
(Slip In/Out)<br />
SHIFT + INPUT<br />
(REP/INP)<br />
Loads the start and end of the event currently under the play head on the selected<br />
track(s) into the In point and Out point registers (also called “event capture”).<br />
MON Pressing this key while in the Normal state allows the SEL keys to select which<br />
track(s) will be monitored through the front panel headphone monitor output. This<br />
does not affect the rear panel Studio Monitor jack, which always presents a mono<br />
mix of all tracks.<br />
Pressing SHIFT + MON puts the MMR into a Slip In/Out mode that allows for<br />
slipping (or nudging) all material between the In and Out register locations on<br />
selected tracks. When Slip In/Out is active, none of the status LEDs for the Track<br />
Mode Select keys is lit on the MMR front panel. This is to distinguish this mode<br />
from all other Track Select Modes, wherein at least one Track Select Mode status<br />
LED is always lit. Upon pressing SHIFT + MON, the bottom line of the display<br />
will show Slip and a time code entry field. Use the Wheel or the Up/Down arrow<br />
keys to enter the amount by which the defined region (between In and Out) on the<br />
selected tracks is to be slipped. This operation does not affect sync on material<br />
which is not located between the In and Out register locations. Slip In/Out will<br />
overwrite any existing material on the selected tracks that is at the new destination<br />
location to which the material has been moved.<br />
To complete the Slip In/Out operation, press SHIFT +MON again. The bottom line<br />
of the display will show Slip In/Out to indicate that the slip operation has been<br />
performed. To exit the Slip In/Out operation without executing the slip, press CLR.<br />
INPUT Pressing this key while in the Normal state allows the SEL keys to change the main<br />
audio outputs from monitoring audio off the disk to monitoring the audio present at<br />
the track inputs and lighting the Input LED above the meters. Note that enabling a<br />
track for record automatically selects input monitoring for that track.<br />
When shifted (SHIFT+INPUT), the Input key toggles all tracks between the Input<br />
monitor state and the Repro state. The Input LEDs above the meters and the status<br />
LEDs above each track select key will light or turn off as needed to show the<br />
current state. This is equivalent to engaging and disengaging all of the Select keys<br />
together at the same time while in Input monitor. This feature is a convenience for<br />
saving time when toggling this state for all eight tracks at once.<br />
LOAD TRACK Pressing this key puts the MMR-8 into the Load Track state, and is the first step to<br />
loading pre-recorded material for playback or re-recording, or for deleting recorded<br />
material. Information on the pre-recorded material available on the drive is<br />
presented in hierarchical levels on the LCD display, according to the EDL format<br />
of the material itself.<br />
For WaveFrame or StudioFrame volumes, this means the material will be listed<br />
in a Project / Episode / Reel / Dub / Track hierarchy, with Episode being an<br />
optional element. For Pro Tools volumes, the material will be listed in Session /<br />
Track hierarchy, and for OMF volumes, the material will be presented in a<br />
Composition / Track hierarchy.<br />
<strong>Tascam</strong> MMR-8 Owner’s Manual • Chapter 3 • MMR-8 Operation MMR-8