

NV52/NV54/NV56/NV58 Service Guide - tim.id.au
NV52/NV54/NV56/NV58 Service Guide - tim.id.au
NV52/NV54/NV56/NV58 Service Guide - tim.id.au

You also want an ePaper? Increase the reach of your titles
YUMPU automatically turns print PDFs into web optimized ePapers that Google loves.
74<br />
CHAPTER 3: Replacing notebook components<br />
Replacing the touchpad board<br />
Tools you need to complete this task:<br />
Phillips #0 screwdriver<br />
Flat screwdriver or Non-marring plastic scribe<br />
Screws removed during this task:<br />
• 1 black M2×5 (hard drive)<br />
• 1 black M2.5×6 (optical drive)<br />
• 3 black M2.5×6 (keyboard cover)<br />
• 2 black M2.5×6 (LCD panel hinge - bottom)<br />
• 2 black M2.5×6+Nylok (LCD panel hinge - top)<br />
• 10 M2.5×6 black (palm rest - base s<strong>id</strong>e)<br />
• 3 M2.5×6 black (palm rest - top s<strong>id</strong>e)<br />
To replace the touchpad board:<br />
1 Complete the steps in “Preparing the notebook” on page 47.<br />
2 Remove the palm rest by performing steps 2–18 of the “Replacing the palm<br />
rest” procedure on page 68.<br />
3 Turn the palm rest over so that its unders<strong>id</strong>e is facing up.<br />
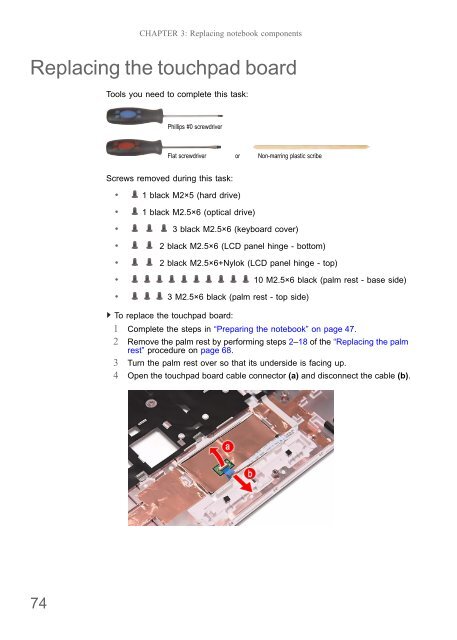
4 Open the touchpad board cable connector (a) and disconnect the cable (b).


