

Curlin 2000 User Manual - Med-E-Quip Locators
Curlin 2000 User Manual - Med-E-Quip Locators
Curlin 2000 User Manual - Med-E-Quip Locators

You also want an ePaper? Increase the reach of your titles
YUMPU automatically turns print PDFs into web optimized ePapers that Google loves.
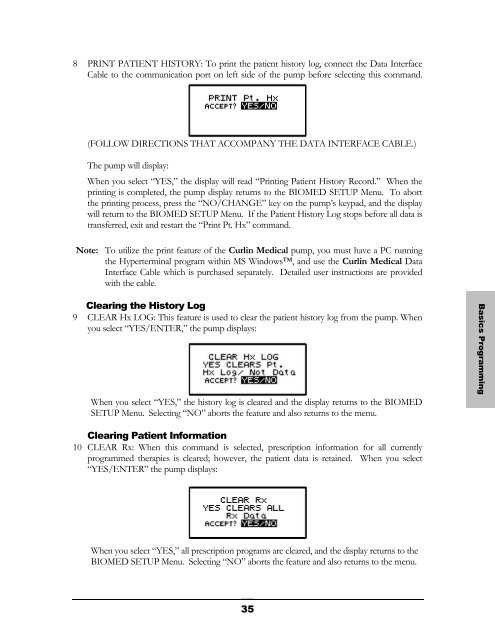
8 PRINT PATIENT HISTORY: To print the patient history log, connect the Data Interface<br />
Cable to the communication port on left side of the pump before selecting this command.<br />
(FOLLOW DIRECTIONS THAT ACCOMPANY THE DATA INTERFACE CABLE.)<br />
The pump will display:<br />
When you select “YES,” the display will read “Printing Patient History Record.” When the<br />
printing is completed, the pump display returns to the BIOMED SETUP Menu. To abort<br />
the printing process, press the “NO/CHANGE” key on the pump’s keypad, and the display<br />
will return to the BIOMED SETUP Menu. If the Patient History Log stops before all data is<br />
transferred, exit and restart the “Print Pt. Hx” command.<br />
Note: To utilize the print feature of the <strong>Curlin</strong> <strong>Med</strong>ical pump, you must have a PC running<br />
the Hyperterminal program within MS Windows, and use the <strong>Curlin</strong> <strong>Med</strong>ical Data<br />
Interface Cable which is purchased separately. Detailed user instructions are provided<br />
with the cable.<br />
Clearing the History Log<br />
9 CLEAR Hx LOG: This feature is used to clear the patient history log from the pump. When<br />
you select “YES/ENTER,” the pump displays:<br />
When you select “YES,” the history log is cleared and the display returns to the BIOMED<br />
SETUP Menu. Selecting “NO” aborts the feature and also returns to the menu.<br />
Basics Programming<br />
Clearing Patient Information<br />
10 CLEAR Rx: When this command is selected, prescription information for all currently<br />
programmed therapies is cleared; however, the patient data is retained. When you select<br />
“YES/ENTER” the pump displays:<br />
When you select “YES,” all prescription programs are cleared, and the display returns to the<br />
BIOMED SETUP Menu. Selecting “NO” aborts the feature and also returns to the menu.<br />
35


