iSTAR Pro 4U Rack Mount Quick Start Installation Guide
iSTAR Pro 4U Rack Mount Quick Start Installation Guide
iSTAR Pro 4U Rack Mount Quick Start Installation Guide
Create successful ePaper yourself
Turn your PDF publications into a flip-book with our unique Google optimized e-Paper software.
Features<br />
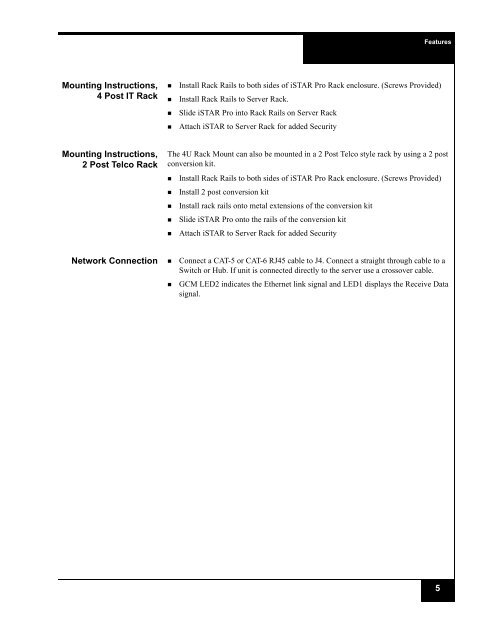
<strong>Mount</strong>ing Instructions,<br />
4 Post IT <strong>Rack</strong><br />
• Install <strong>Rack</strong> Rails to both sides of <strong>iSTAR</strong> <strong>Pro</strong> <strong>Rack</strong> enclosure. (Screws <strong>Pro</strong>vided)<br />
• Install <strong>Rack</strong> Rails to Server <strong>Rack</strong>.<br />
• Slide <strong>iSTAR</strong> <strong>Pro</strong> into <strong>Rack</strong> Rails on Server <strong>Rack</strong><br />
• Attach <strong>iSTAR</strong> to Server <strong>Rack</strong> for added Security<br />
<strong>Mount</strong>ing Instructions,<br />
2 Post Telco <strong>Rack</strong><br />
The <strong>4U</strong> <strong>Rack</strong> <strong>Mount</strong> can also be mounted in a 2 Post Telco style rack by using a 2 post<br />
conversion kit.<br />
• Install <strong>Rack</strong> Rails to both sides of <strong>iSTAR</strong> <strong>Pro</strong> <strong>Rack</strong> enclosure. (Screws <strong>Pro</strong>vided)<br />
• Install 2 post conversion kit<br />
• Install rack rails onto metal extensions of the conversion kit<br />
• Slide <strong>iSTAR</strong> <strong>Pro</strong> onto the rails of the conversion kit<br />
• Attach <strong>iSTAR</strong> to Server <strong>Rack</strong> for added Security<br />
Network Connection • Connect a CAT-5 or CAT-6 RJ45 cable to J4. Connect a straight through cable to a<br />
Switch or Hub. If unit is connected directly to the server use a crossover cable.<br />
• GCM LED2 indicates the Ethernet link signal and LED1 displays the Receive Data<br />
signal.<br />
5


