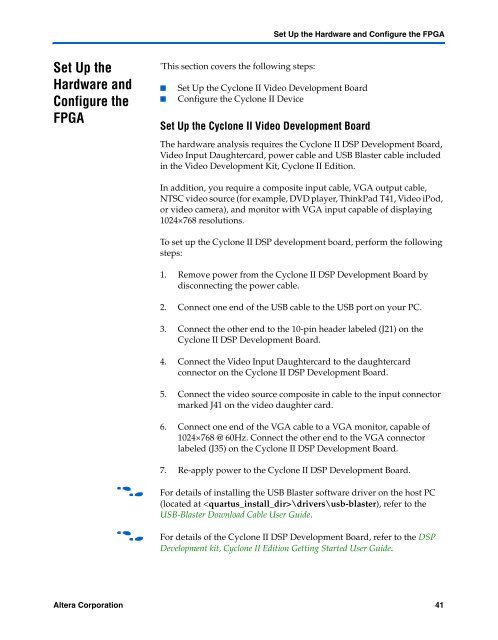
Video and Image Processing Up Conversion Example Design
Video and Image Processing Up Conversion Example Design
Video and Image Processing Up Conversion Example Design
You also want an ePaper? Increase the reach of your titles
YUMPU automatically turns print PDFs into web optimized ePapers that Google loves.
Set <strong>Up</strong> the<br />
Hardware <strong>and</strong><br />
Configure the<br />
FPGA<br />
'This section covers the following steps:<br />
Set <strong>Up</strong> the Hardware <strong>and</strong> Configure the FPGA<br />
■ Set <strong>Up</strong> the Cyclone II <strong>Video</strong> Development Board<br />
■ Configure the Cyclone II Device<br />
Set <strong>Up</strong> the Cyclone II <strong>Video</strong> Development Board<br />
The hardware analysis requires the Cyclone II DSP Development Board,<br />
<strong>Video</strong> Input Daughtercard, power cable <strong>and</strong> USB Blaster cable included<br />
in the <strong>Video</strong> Development Kit, Cyclone II Edition.<br />
In addition, you require a composite input cable, VGA output cable,<br />
NTSC video source (for example, DVD player, ThinkPad T41, <strong>Video</strong> iPod,<br />
or video camera), <strong>and</strong> monitor with VGA input capable of displaying<br />
1024×768 resolutions.<br />
To set up the Cyclone II DSP development board, perform the following<br />
steps:<br />
1. Remove power from the Cyclone II DSP Development Board by<br />
disconnecting the power cable.<br />
2. Connect one end of the USB cable to the USB port on your PC.<br />
3. Connect the other end to the 10-pin header labeled (J21) on the<br />
Cyclone II DSP Development Board.<br />
4. Connect the <strong>Video</strong> Input Daughtercard to the daughtercard<br />
connector on the Cyclone II DSP Development Board.<br />
5. Connect the video source composite in cable to the input connector<br />
marked J41 on the video daughter card.<br />
6. Connect one end of the VGA cable to a VGA monitor, capable of<br />
1024×768 @ 60Hz. Connect the other end to the VGA connector<br />
labeled (J35) on the Cyclone II DSP Development Board.<br />
7. Re-apply power to the Cyclone II DSP Development Board.<br />
f For details of installing the USB Blaster software driver on the host PC<br />
(located at \drivers\usb-blaster), refer to the<br />
USB-Blaster Download Cable User Guide.<br />
f For details of the Cyclone II DSP Development Board, refer to the DSP<br />
Development kit, Cyclone II Edition Getting Started User Guide.<br />
Altera Corporation 41<br />
Preliminary


