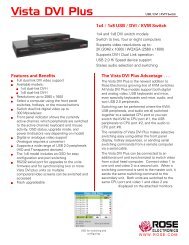
Manual (PDF) - Rose Electronics
Manual (PDF) - Rose Electronics
Manual (PDF) - Rose Electronics

Create successful ePaper yourself
Turn your PDF publications into a flip-book with our unique Google optimized e-Paper software.
UNIT CONFIGURATION<br />
Configuring the Vista Remote 2 IP Input module<br />
When you locally connect to Vista Remote 2 unit for the first time the Unit and Network must<br />
be configured. Follow the recommended procedure below to configure all models:<br />
Make all cable connections to the KVM station, network, and computers<br />
Apply power to all devices (Computers, Vista Remote 2, and Monitor).<br />
Make sure a computer is connected to CPU port #1 and that computer is powered on.<br />
If no computer is connected to port #1, the OSD menu screens may not sync.<br />
With power applied, a standard login screen will display on the KVM monitor<br />
Login on to the unit using the default user ID, admin and no password<br />
After a successful login, the remote computer’s video will display on the KVM monitor.<br />
Press the CTRL + ALT + C keys simultaneously to display the configuration menu options<br />
as shown below: (Unit connection screen may display after initial connection is made)<br />
Figure 5. Configuration OSD<br />
Select “Unit Configuration” and the below screen will display<br />
Figure 6. Unit Configuration OSD<br />
8 Vista Remote 2 Installation and Operations <strong>Manual</strong>