Installing the BayStack 400-ST1 Cascade Module - CXtec
Installing the BayStack 400-ST1 Cascade Module - CXtec
Installing the BayStack 400-ST1 Cascade Module - CXtec

Create successful ePaper yourself
Turn your PDF publications into a flip-book with our unique Google optimized e-Paper software.
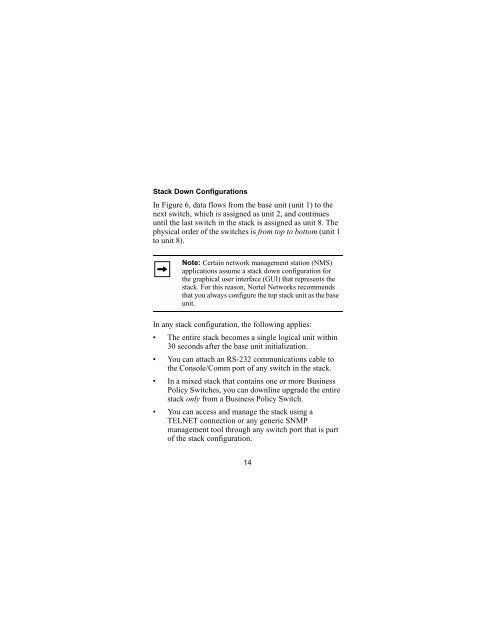
Stack Down ConfigurationsIn Figure 6, data flows from <strong>the</strong> base unit (unit 1) to <strong>the</strong>next switch, which is assigned as unit 2, and continuesuntil <strong>the</strong> last switch in <strong>the</strong> stack is assigned as unit 8. Thephysical order of <strong>the</strong> switches is from top to bottom (unit 1to unit 8).Note: Certain network management station (NMS)applications assume a stack down configuration for<strong>the</strong> graphical user interface (GUI) that represents <strong>the</strong>stack. For this reason, Nortel Networks recommendsthat you always configure <strong>the</strong> top stack unit as <strong>the</strong> baseunit.In any stack configuration, <strong>the</strong> following applies:• The entire stack becomes a single logical unit within30 seconds after <strong>the</strong> base unit initialization.• You can attach an RS-232 communications cable to<strong>the</strong> Console/Comm port of any switch in <strong>the</strong> stack.• In a mixed stack that contains one or more BusinessPolicy Switches, you can downline upgrade <strong>the</strong> entirestack only from a Business Policy Switch.• You can access and manage <strong>the</strong> stack using aTELNET connection or any generic SNMPmanagement tool through any switch port that is partof <strong>the</strong> stack configuration.14