Installing the BayStack 400-ST1 Cascade Module - CXtec
Installing the BayStack 400-ST1 Cascade Module - CXtec
Installing the BayStack 400-ST1 Cascade Module - CXtec
You also want an ePaper? Increase the reach of your titles
YUMPU automatically turns print PDFs into web optimized ePapers that Google loves.
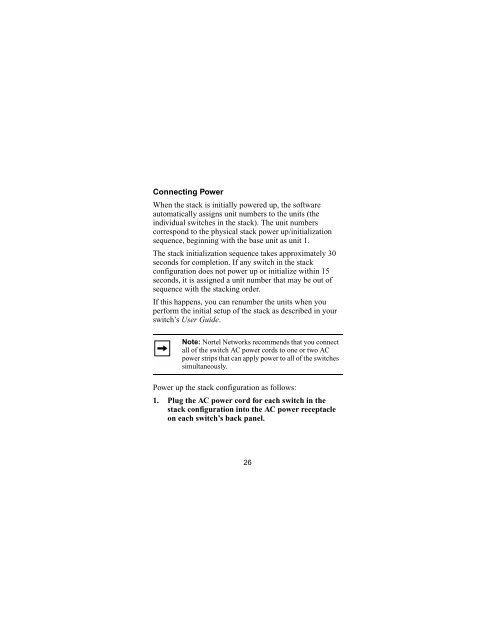
Connecting PowerWhen <strong>the</strong> stack is initially powered up, <strong>the</strong> softwareautomatically assigns unit numbers to <strong>the</strong> units (<strong>the</strong>individual switches in <strong>the</strong> stack). The unit numberscorrespond to <strong>the</strong> physical stack power up/initializationsequence, beginning with <strong>the</strong> base unit as unit 1.The stack initialization sequence takes approximately 30seconds for completion. If any switch in <strong>the</strong> stackconfiguration does not power up or initialize within 15seconds, it is assigned a unit number that may be out ofsequence with <strong>the</strong> stacking order.If this happens, you can renumber <strong>the</strong> units when youperform <strong>the</strong> initial setup of <strong>the</strong> stack as described in yourswitch’s User Guide.Note: Nortel Networks recommends that you connectall of <strong>the</strong> switch AC power cords to one or two ACpower strips that can apply power to all of <strong>the</strong> switchessimultaneously.Power up <strong>the</strong> stack configuration as follows:1. Plug <strong>the</strong> AC power cord for each switch in <strong>the</strong>stack configuration into <strong>the</strong> AC power receptacleon each switch’s back panel.26


