Installing the BayStack 400-ST1 Cascade Module - CXtec
Installing the BayStack 400-ST1 Cascade Module - CXtec
Installing the BayStack 400-ST1 Cascade Module - CXtec
Create successful ePaper yourself
Turn your PDF publications into a flip-book with our unique Google optimized e-Paper software.
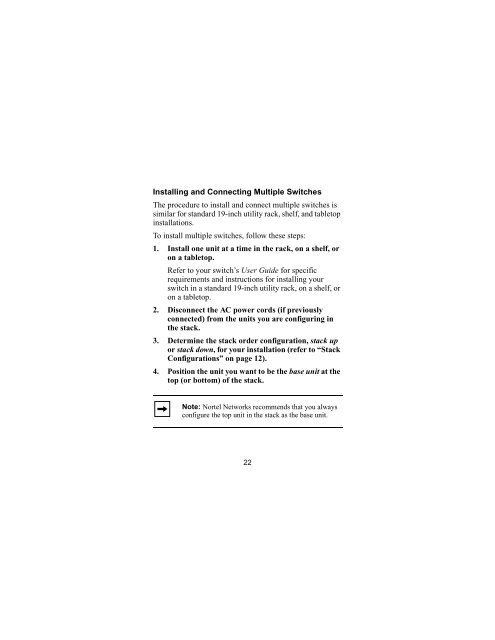
<strong>Installing</strong> and Connecting Multiple SwitchesThe procedure to install and connect multiple switches issimilar for standard 19-inch utility rack, shelf, and tabletopinstallations.To install multiple switches, follow <strong>the</strong>se steps:1. Install one unit at a time in <strong>the</strong> rack, on a shelf, oron a tabletop.Refer to your switch’s User Guide for specificrequirements and instructions for installing yourswitch in a standard 19-inch utility rack, on a shelf, oron a tabletop.2. Disconnect <strong>the</strong> AC power cords (if previouslyconnected) from <strong>the</strong> units you are configuring in<strong>the</strong> stack.3. Determine <strong>the</strong> stack order configuration, stack upor stack down, for your installation (refer to “StackConfigurations” on page 12).4. Position <strong>the</strong> unit you want to be <strong>the</strong> base unit at <strong>the</strong>top (or bottom) of <strong>the</strong> stack.Note: Nortel Networks recommends that you alwaysconfigure <strong>the</strong> top unit in <strong>the</strong> stack as <strong>the</strong> base unit.22


