


You also want an ePaper? Increase the reach of your titles
YUMPU automatically turns print PDFs into web optimized ePapers that Google loves.
Linksys <strong>E3000</strong><br />
Chapter 2: Advanced Configuration<br />
Dynamic Routing (RIP)<br />
Dynamic routing uses the Routing Information Protocol<br />
(RIP). This option enables the Router to automatically<br />
adjust to physical changes in the network’s layout and<br />
exchange routing tables with other router(s). The Router<br />
determines the network packets’ route based on the<br />
fewest number of hops between the source and the<br />
destination.<br />
Enabled/Disabled When the NAT setting is enabled, the<br />
Dynamic Routing option is automatically disabled. When<br />
the NAT setting is disabled, this option is available. Select<br />
Enabled to use the Dynamic Routing option.<br />
Static Routing<br />
A static route is a pre-determined pathway that network<br />
information must travel to reach a specific host or<br />
network. Enter the information described below to set up<br />
a new static route.<br />
Route Entries To set up a static route between the Router<br />
and another network, select a number from the dropdown<br />
list. Click Delete This Entry to delete a static route.<br />
Enter Route Name Enter a name for the Route here,<br />
using a maximum of 25 alphanumeric characters.<br />
Destination LAN IP The Destination LAN IP is the address<br />
of the remote network or host to which you want to assign<br />
a static route.<br />
Subnet Mask The Subnet Mask determines which<br />
portion of a Destination LAN IP address is the network<br />
portion, and which portion is the host portion.<br />
Gateway This is the IP address of the gateway device that<br />
allows for contact between the Router and the remote<br />
network or host.<br />
Interface This interface tells you whether the Destination<br />
IP Address is on the LAN & Wireless (Ethernet and wireless<br />
networks) or the Internet (WAN).<br />
Click Show Routing Table to view the static routes you<br />
have already set up.<br />
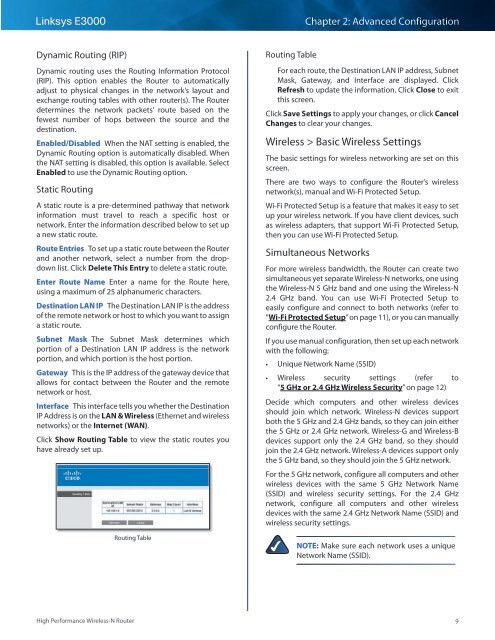
Routing Table<br />
Routing Table<br />
For each route, the Destination LAN IP address, Subnet<br />
Mask, Gateway, and Interface are displayed. Click<br />
Refresh to update the information. Click Close to exit<br />
this screen.<br />
Click Save Settings to apply your changes, or click Cancel<br />
Changes to clear your changes.<br />
Wireless > Basic Wireless Settings<br />
The basic settings for wireless networking are set on this<br />
screen.<br />
There are two ways to configure the Router’s wireless<br />
network(s), manual and Wi-Fi Protected Setup.<br />
Wi-Fi Protected Setup is a feature that makes it easy to set<br />
up your wireless network. If you have client devices, such<br />
as wireless adapters, that support Wi-Fi Protected Setup,<br />
then you can use Wi-Fi Protected Setup.<br />
Simultaneous Networks<br />
For more wireless bandwidth, the Router can create two<br />
simultaneous yet separate Wireless-N networks, one using<br />
the Wireless-N 5 GHz band and one using the Wireless-N<br />
2.4 GHz band. You can use Wi-Fi Protected Setup to<br />
easily configure and connect to both networks (refer to<br />
“Wi-Fi Protected Setup” on page 11), or you can manually<br />
configure the Router.<br />
If you use manual configuration, then set up each network<br />
with the following:<br />
••<br />
Unique Network Name (SSID)<br />
••<br />
Wireless security settings (refer to<br />
“5 GHz or 2.4 GHz Wireless Security” on page 12)<br />
Decide which computers and other wireless devices<br />
should join which network. Wireless-N devices support<br />
both the 5 GHz and 2.4 GHz bands, so they can join either<br />
the 5 GHz or 2.4 GHz network. Wireless-G and Wireless-B<br />
devices support only the 2.4 GHz band, so they should<br />
join the 2.4 GHz network. Wireless-A devices support only<br />
the 5 GHz band, so they should join the 5 GHz network.<br />
For the 5 GHz network, configure all computers and other<br />
wireless devices with the same 5 GHz Network Name<br />
(SSID) and wireless security settings. For the 2.4 GHz<br />
network, configure all computers and other wireless<br />
devices with the same 2.4 GHz Network Name (SSID) and<br />
wireless security settings.<br />
NOTE: Make sure each network uses a unique<br />
Network Name (SSID).<br />
High Performance Wireless-N Router<br />
9