


You also want an ePaper? Increase the reach of your titles
YUMPU automatically turns print PDFs into web optimized ePapers that Google loves.
Linksys <strong>E3000</strong><br />
Chapter 2: Advanced Configuration<br />
Add a Media Folder<br />
Use this screen to add a media folder.<br />
Storage > FTP Server<br />
The Storage options are available when a USB drive is<br />
connected to the USB port of the Router.<br />
The FTP Server tab creates an FTP server that can be<br />
accessed from the Internet or your local network.<br />
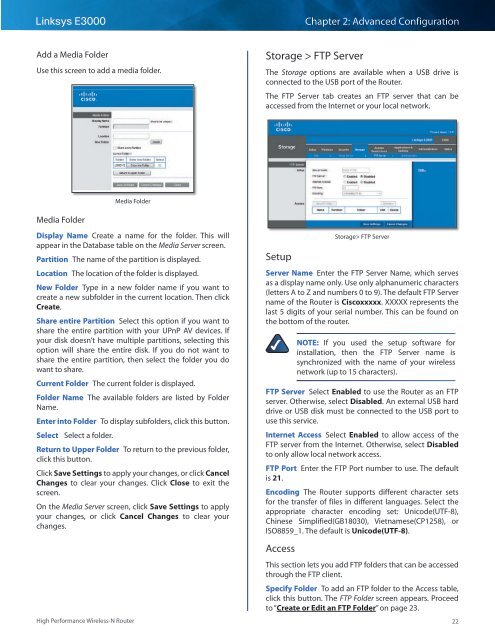
Media Folder<br />
Media Folder<br />
Display Name Create a name for the folder. This will<br />
appear in the Database table on the Media Server screen.<br />
Partition The name of the partition is displayed.<br />
Location The location of the folder is displayed.<br />
New Folder Type in a new folder name if you want to<br />
create a new subfolder in the current location. Then click<br />
Create.<br />
Share entire Partition Select this option if you want to<br />
share the entire partition with your UPnP AV devices. If<br />
your disk doesn’t have multiple partitions, selecting this<br />
option will share the entire disk. If you do not want to<br />
share the entire partition, then select the folder you do<br />
want to share.<br />
Current Folder The current folder is displayed.<br />
Folder Name The available folders are listed by Folder<br />
Name.<br />
Enter into Folder To display subfolders, click this button.<br />
Select Select a folder.<br />
Return to Upper Folder To return to the previous folder,<br />
click this button.<br />
Click Save Settings to apply your changes, or click Cancel<br />
Changes to clear your changes. Click Close to exit the<br />
screen.<br />
On the Media Server screen, click Save Settings to apply<br />
your changes, or click Cancel Changes to clear your<br />
changes.<br />
High Performance Wireless-N Router<br />
Setup<br />
Storage> FTP Server<br />
Server Name Enter the FTP Server Name, which serves<br />
as a display name only. Use only alphanumeric characters<br />
(letters A to Z and numbers 0 to 9). The default FTP Server<br />
name of the Router is Ciscoxxxxx. XXXXX represents the<br />
last 5 digits of your serial number. This can be found on<br />
the bottom of the router.<br />
NOTE: If you used the setup software for<br />
installation, then the FTP Server name is<br />
synchronized with the name of your wireless<br />
network (up to 15 characters).<br />
FTP Server Select Enabled to use the Router as an FTP<br />
server. Otherwise, select Disabled. An external USB hard<br />
drive or USB disk must be connected to the USB port to<br />
use this service.<br />
Internet Access Select Enabled to allow access of the<br />
FTP server from the Internet. Otherwise, select Disabled<br />
to only allow local network access.<br />
FTP Port Enter the FTP Port number to use. The default<br />
is 21.<br />
Encoding The Router supports different character sets<br />
for the transfer of files in different languages. Select the<br />
appropriate character encoding set: Unicode(UTF-8),<br />
Chinese Simplified(GB18030), Vietnamese(CP1258), or<br />
ISO8859_1. The default is Unicode(UTF-8).<br />
Access<br />
This section lets you add FTP folders that can be accessed<br />
through the FTP client.<br />
Specify Folder To add an FTP folder to the Access table,<br />
click this button. The FTP Folder screen appears. Proceed<br />
to “Create or Edit an FTP Folder” on page 23.<br />
22