

Web_Designer_Issue_262_2017

You also want an ePaper? Increase the reach of your titles
YUMPU automatically turns print PDFs into web optimized ePapers that Google loves.
Create a draggable left and right navigation panel<br />
DOWNLOAD TUTORIAL FILES<br />
www.filesilo.co.uk/webdesigner<br />
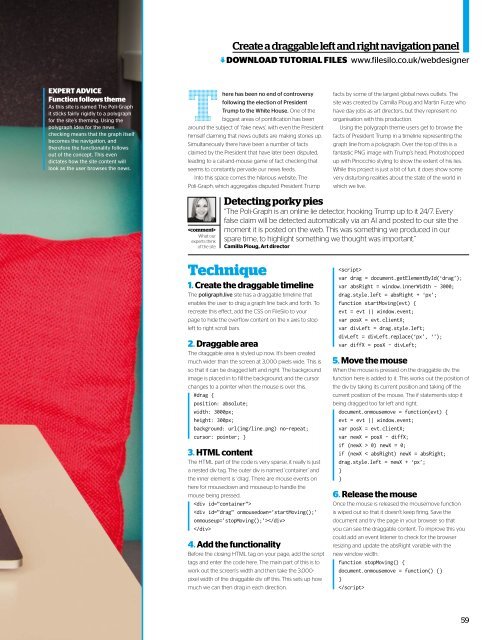
EXPERT ADVICE<br />
Function follows theme<br />
As this site is named The Poli-Graph<br />
it sticks fairly rigidly to a polygraph<br />
for the site’s theming. Using the<br />
polygraph idea for the news<br />
checking means that the graph itself<br />
becomes the navigation, and<br />
therefore the functionality follows<br />
out of the concept. This even<br />
dictates how the site content will<br />
look as the user browses the news.<br />
T<br />
here has been no end of controversy<br />
following the election of President<br />
Trump to the White House. One of the<br />
biggest areas of pontification has been<br />
around the subject of ‘fake news’, with even the President<br />
himself claiming that news outlets are making stories up.<br />
Simultaneously there have been a number of facts<br />
claimed by the President that have later been disputed,<br />
leading to a cat-and-mouse game of fact checking that<br />
seems to constantly pervade our news feeds.<br />
Into this space comes the hilarious website, The<br />
Poli-Graph, which aggregates disputed President Trump<br />
<br />
What our<br />
experts think<br />
of the site<br />
facts by some of the largest global news outlets. The<br />
site was created by Camilla Ploug and Martin Furze who<br />
have day jobs as art directors, but they represent no<br />
organisation with this production.<br />
Using the polygraph theme users get to browse the<br />
facts of President Trump in a timeline representing the<br />
graph line from a polygraph. Over the top of this is a<br />
fantastic PNG image with Trump’s head, Photoshopped<br />
up with Pinocchio styling to show the extent of his lies.<br />
While this project is just a bit of fun, it does show some<br />
very disturbing realities about the state of the world in<br />
which we live.<br />
Detecting porky pies<br />
“The Poli-Graph is an online lie detector, hooking Trump up to it 24/7. Every<br />
false claim will be detected automatically via an AI and posted to our site the<br />
moment it is posted on the web. This was something we produced in our<br />
spare time, to highlight something we thought was important.”<br />
Camilla Ploug, Art director<br />
Technique<br />
1. Create the draggable timeline<br />
The poligraph.live site has a draggable timeline that<br />
enables the user to drag a graph line back and forth. To<br />
recreate this efect, add the CSS on FileSilo to your<br />
page to hide the overflow content on the x axis to stop<br />
left to right scroll bars.<br />
2. Draggable area<br />
The draggable area is styled up now. It’s been created<br />
much wider than the screen at 3,000 pixels wide. This is<br />
so that it can be dragged left and right. The background<br />
image is placed in to fill the background, and the cursor<br />
changes to a pointer when the mouse is over this.<br />
#drag {<br />
position: absolute;<br />
width: 3000px;<br />
height: 300px;<br />
background: url(img/line.png) no-repeat;<br />
cursor: pointer; }<br />
3. HTML content<br />
The HTML part of the code is very sparse, it really is just<br />
a nested div tag. The outer div is named ‘container’ and<br />
the inner element is ‘drag’. There are mouse events on<br />
here for mousedown and mouseup to handle the<br />
mouse being pressed.<br />
<br />
<br />
<br />
4. Add the functionality<br />
Before the closing HTML tag on your page, add the script<br />
tags and enter the code here. The main part of this is to<br />
work out the screen’s width and then take the 3,000-<br />
pixel width of the draggable div of this. This sets up how<br />
much we can then drag in each direction.<br />
<br />
var drag = document.getElementById(‘drag’);<br />
var absRight = window.innerWidth - 3000;<br />
drag.style.left = absRight + ‘px’;<br />
function startMoving(evt) {<br />
evt = evt || window.event;<br />
var posX = evt.clientX;<br />
var divLeft = drag.style.left;<br />
divLeft = divLeft.replace(‘px’, ‘’);<br />
var diffX = posX - divLeft;<br />
5. Move the mouse<br />
When the mouse is pressed on the draggable div, the<br />
function here is added to it. This works out the position of<br />
the div by taking its current position and taking of the<br />
current position of the mouse. The if statements stop it<br />
being dragged too far left and right.<br />
document.onmousemove = function(evt) {<br />
evt = evt || window.event;<br />
var posX = evt.clientX;<br />
var newX = posX - diffX;<br />
if (newX > 0) newX = 0;<br />
if (newX < absRight) newX = absRight;<br />
drag.style.left = newX + ‘px’;<br />
}<br />
}<br />
6. Release the mouse<br />
Once the mouse is released the mousemove function<br />
is wiped out so that it doesn’t keep firing. Save the<br />
document and try the page in your browser so that<br />
you can see the draggable content. To improve this you<br />
could add an event listener to check for the browser<br />
resizing and update the absRight variable with the<br />
new window width.<br />
function stopMoving() {<br />
document.onmousemove = function() {}<br />
}<br />
<br />
59


