

Web_Designer_Issue_262_2017

Create successful ePaper yourself
Turn your PDF publications into a flip-book with our unique Google optimized e-Paper software.
Which front-end frameWork?<br />
WHAT’S NEW<br />
IN ANGULAR 4?<br />
After a bumpy ride moving from<br />
AngularJS to Angular 2, the latest<br />
release is less intimidating<br />
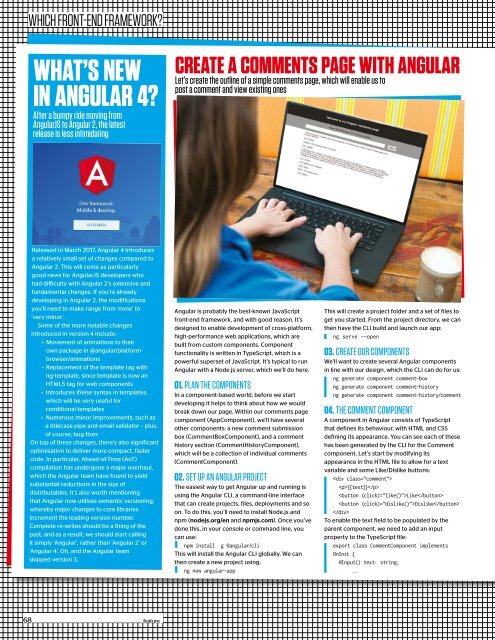
CREATE A COMMENTS PAGE WITH ANGULAR<br />
Let’s create the outline of a simple comments page, which will enable us to<br />
post a comment and view existing ones<br />
Released in March <strong>2017</strong>, Angular 4 introduces<br />
a relatively small set of changes compared to<br />
Angular 2. This will come as particularly<br />
good news for AngularJS developers who<br />
had dificulty with Angular 2’s extensive and<br />
fundamental changes. If you’re already<br />
developing in Angular 2, the modifications<br />
you’ll need to make range from ‘none’ to<br />
‘very minor’.<br />
Some of the more notable changes<br />
introduced in version 4 include:<br />
• Movement of animations to their<br />
own package in @angular/platformbrowser/animations<br />
• Replacement of the template tag with<br />
ng-template, since template is now an<br />
HTML5 tag for web components<br />
• Introduces if/else syntax in templates,<br />
which will be very useful for<br />
conditional templates<br />
• Numerous minor improvements, such as<br />
a titlecase pipe and email validator – plus,<br />
of course, bug fixes<br />
On top of these changes, there’s also significant<br />
optimisation to deliver more compact, faster<br />
code. In particular, Ahead-of-Time (AoT)<br />
compilation has undergone a major overhaul,<br />
which the Angular team have found to yield<br />
substantial reductions in the size of<br />
distributables. It’s also worth mentioning<br />
that Angular now utilises semantic versioning,<br />
whereby major changes to core libraries<br />
increment the leading version number.<br />
Complete re-writes should be a thing of the<br />
past, and as a result, we should start calling<br />
it simply ‘Angular’, rather than ‘Angular 2’ or<br />
‘Angular 4’. Oh, and the Angular team<br />
skipped version 3.<br />
Angular is probably the best-known JavaScript<br />
front-end framework, and with good reason. It’s<br />
designed to enable development of cross-platform,<br />
high-performance web applications, which are<br />
built from custom components. Component<br />
functionality is written in TypeScript, which is a<br />
powerful superset of JavaScript. It’s typical to run<br />
Angular with a Node.js server, which we’ll do here.<br />
01. PLAN THE COMPONENTS<br />
In a component-based world, before we start<br />
developing it helps to think about how we would<br />
break down our page. Within our comments page<br />
component (AppComponent), we’ll have several<br />
other components: a new comment submission<br />
box (CommentBoxComponent), and a comment<br />
history section (CommentHistoryComponent),<br />
which will be a collection of individual comments<br />
(CommentComponent).<br />
02. SET UP AN ANGULAR PROJECT<br />
The easiest way to get Angular up and running is<br />
using the Angular CLI, a command-line interface<br />
that can create projects, files, deployments and so<br />
on. To do this, you’ll need to install Node.js and<br />
npm (nodejs.org/en and npmjs.com). Once you’ve<br />
done this, in your console or command line, you<br />
can use:<br />
npm install g @angular/cli<br />
This will install the Angular CLI globally. We can<br />
then create a new project using:<br />
ng new angular-app<br />
This will create a project folder and a set of files to<br />
get you started. From the project directory, we can<br />
then have the CLI build and launch our app:<br />
ng serve --open<br />
03. CREATE OUR COMPONENTS<br />
We’ll want to create several Angular components<br />
in line with our design, which the CLI can do for us:<br />
ng generate component comment-box<br />
ng generate component comment-history<br />
ng generate component comment-history/comment<br />
04. THE COMMENT COMPONENT<br />
A component in Angular consists of TypeScript<br />
that defines its behaviour, with HTML and CSS<br />
defining its appearance. You can see each of these<br />
has been generated by the CLI for the Comment<br />
component. Let’s start by modifying its<br />
appearance in the HTML file to allow for a text<br />
variable and some Like/Dislike buttons:<br />
<br />
{{text}}<br />
Like<br />
Dislike<br />
<br />
To enable the text field to be populated by the<br />
parent component, we need to add an input<br />
property to the TypeScript file:<br />
export class CommentComponent implements<br />
OnInit {<br />
@Input() text: string;<br />
...<br />
68 ________________________________________________________________ feature


