

Web_Designer_Issue_262_2017

Create successful ePaper yourself
Turn your PDF publications into a flip-book with our unique Google optimized e-Paper software.
Developer tutorials<br />
Create a dashboard app with React<br />
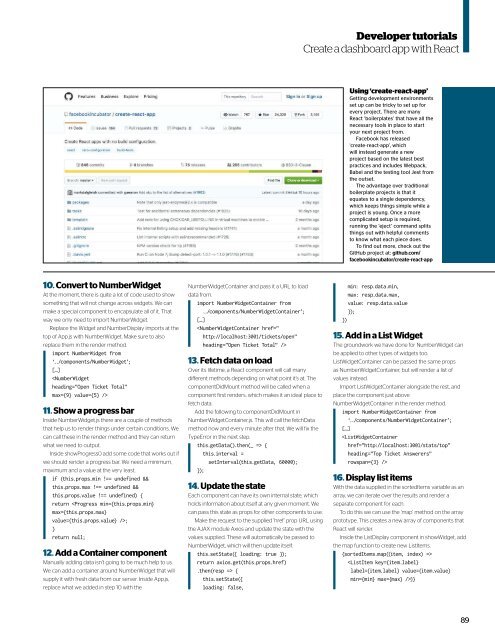
Using ‘create-react-app’<br />
Getting development environments<br />
set up can be tricky to set up for<br />
every project. There are many<br />
React ‘boilerplates’ that have all the<br />
necessary tools in place to start<br />
your next project from.<br />
Facebook has released<br />
‘create-react-app’, which<br />
will instead generate a new<br />
project based on the latest best<br />
practices and includes <strong>Web</strong>pack,<br />
Babel and the testing tool Jest from<br />
the outset.<br />
The advantage over traditional<br />
boilerplate projects is that it<br />
equates to a single dependency,<br />
which keeps things simple while a<br />
project is young. Once a more<br />
complicated setup is required,<br />
running the ‘eject’ command splits<br />
things out with helpful comments<br />
to know what each piece does.<br />
To find out more, check out the<br />
GitHub project at: github.com/<br />
facebookincubator/create-react-app<br />
10. Convert to NumberWidget<br />
At the moment, there is quite a lot of code used to show<br />
something that will not change across widgets. We can<br />
make a special component to encapsulate all of it. That<br />
way we only need to import NumberWidget.<br />
Replace the Widget and NumberDisplay imports at the<br />
top of App.js with NumberWidget. Make sure to also<br />
replace them in the render method.<br />
import NumberWidget from<br />
‘../components/NumberWidget’;<br />
[…]<br />
<br />
11. Show a progress bar<br />
Inside NumberWidget.js there are a couple of methods<br />
that help us to render things under certain conditions. We<br />
can call these in the render method and they can return<br />
what we need to output.<br />
Inside showProgress() add some code that works out if<br />
we should render a progress bar. We need a minimum,<br />
maximum and a value at the very least.<br />
if (this.props.min !== undefined &&<br />
this.props.max !== undefined &&<br />
this.props.value !== undefined) {<br />
return ;<br />
}<br />
return null;<br />
12. Add a Container component<br />
Manually adding data isn’t going to be much help to us.<br />
We can add a container around NumberWidget that will<br />
supply it with fresh data from our server. Inside App.js,<br />
replace what we added in step 10 with the<br />
NumberWidgetContainer and pass it a URL to load<br />
data from.<br />
import NumberWidgetContainer from<br />
../components/NumberWidgetContainer’;<br />
[…]<br />
<br />
13. Fetch data on load<br />
Over its lifetime, a React component will call many<br />
diferent methods depending on what point it’s at. The<br />
componentDidMount method will be called when a<br />
component first renders, which makes it an ideal place to<br />
fetch data.<br />
Add the following to componentDidMount in<br />
NumberWidgetContainer.js. This will call the fetchData<br />
method now and every minute after that. We will fix the<br />
TypeError in the next step.<br />
this.getData().then(_ => {<br />
this.interval =<br />
setInterval(this.getData, 60000);<br />
});<br />
14. Update the state<br />
Each component can have its own internal state, which<br />
holds information about itself at any given moment. We<br />
can pass this state as props for other components to use.<br />
Make the request to the supplied ‘href’ prop URL using<br />
the AJAX module Axios and update the state with the<br />
values supplied. These will automatically be passed to<br />
NumberWidget, which will then update itself.<br />
this.setState({ loading: true });<br />
return axios.get(this.props.href)<br />
.then(resp => {<br />
this.setState({<br />
loading: false,<br />
min: resp.data.min,<br />
max: resp.data.max,<br />
value: resp.data.value<br />
});<br />
})<br />
15. Add in a List Widget<br />
The groundwork we have done for NumberWidget can<br />
be applied to other types of widgets too.<br />
ListWidgetContainer can be passed the same props<br />
as NumberWidgetContainer, but will render a list of<br />
values instead.<br />
Import ListWidgetContainer alongside the rest, and<br />
place the component just above<br />
NumberWidgetContainer in the render method.<br />
import NumberWidgetContainer from<br />
‘../components/NumberWidgetContainer’;<br />
[…]<br />
<br />
16. Display list items<br />
With the data supplied in the sortedItems variable as an<br />
array, we can iterate over the results and render a<br />
separate component for each.<br />
To do this we can use the ‘map’ method on the array<br />
prototype. This creates a new array of components that<br />
React will render.<br />
Inside the ListDisplay component in showWidget, add<br />
the map function to create new ListItems.<br />
{sortedItems.map((item, index) =><br />
)}<br />
89


