K Control panel
K Control panel
K Control panel

You also want an ePaper? Increase the reach of your titles
YUMPU automatically turns print PDFs into web optimized ePapers that Google loves.
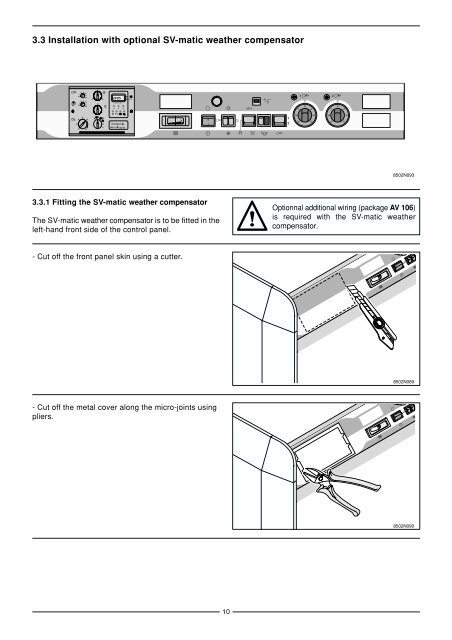
3.3 Installation with optional SV-matic weather compensator<br />
1,5<br />
1<br />
0,5<br />
2 2,5<br />
3<br />
3,5<br />
1<br />
0,5<br />
1,5 2<br />
2,5<br />
3<br />
3,5<br />
50<br />
40<br />
60<br />
30<br />
20 80<br />
14<br />
2<br />
2<br />
14<br />
26<br />
1 2 3 4 5 6 7<br />
1...7 H<br />
Prog.<br />
3.3.1 Fitting the SV-matic weather compensator<br />
OFF<br />
ON<br />
M<br />
R<br />
232 DB<br />
The SV-matic weather compensator is to be fitted in the<br />
left-hand front side of the control <strong>panel</strong>.<br />
- Cut off the front <strong>panel</strong> skin using a cutter.<br />
- Cut off the metal cover along the micro-joints using<br />
pliers.<br />
30<br />
0<br />
l<br />
10<br />
6A<br />
8502N093<br />
Optionnal additional wiring (package AV 106)<br />
is required with the SV-matic weather<br />
compensator.<br />
8502N089<br />
8502N090