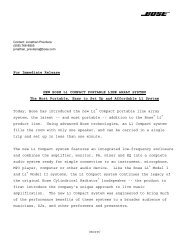
system placement - Bose
system placement - Bose
system placement - Bose

Create successful ePaper yourself
Turn your PDF publications into a flip-book with our unique Google optimized e-Paper software.
English Deutsch Español Français Italiano Nederlands Svenska<br />
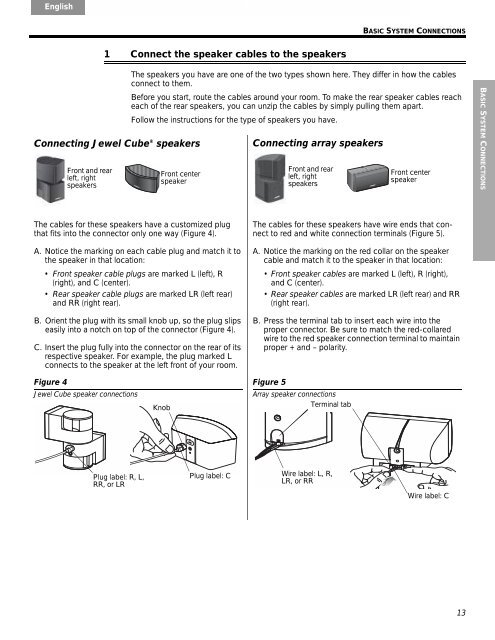
1 Connect the speaker cables to the speakers<br />
BASIC SYSTEM CONNECTIONS<br />
The speakers you have are one of the two types shown here. They differ in how the cables<br />
connect to them.<br />
Before you start, route the cables around your room. To make the rear speaker cables reach<br />
each of the rear speakers, you can unzip the cables by simply pulling them apart.<br />
Follow the instructions for the type of speakers you have.<br />
Connecting Jewel Cube ® speakers Connecting array speakers<br />
Front and rear<br />
left, right<br />
speakers<br />
The cables for these speakers have a customized plug<br />
that fits into the connector only one way (Figure 4).<br />
A. Notice the marking on each cable plug and match it to<br />
the speaker in that location:<br />
Front speaker cable plugs are marked L (left), R<br />
(right), and C (center).<br />
Rear speaker cable plugs are marked LR (left rear)<br />
and RR (right rear).<br />
B. Orient the plug with its small knob up, so the plug slips<br />
easily into a notch on top of the connector (Figure 4).<br />
C. Insert the plug fully into the connector on the rear of its<br />
respective speaker. For example, the plug marked L<br />
connects to the speaker at the left front of your room.<br />
Figure 4<br />
Jewel Cube speaker connections<br />
Plug label: R, L,<br />
RR, or LR<br />
Front center<br />
speaker<br />
Knob<br />
Plug label: C<br />
Front and rear<br />
left, right<br />
speakers<br />
The cables for these speakers have wire ends that connect<br />
to red and white connection terminals (Figure 5).<br />
A. Notice the marking on the red collar on the speaker<br />
cable and match it to the speaker in that location:<br />
• Front speaker cables are marked L (left), R (right),<br />
and C (center).<br />
Rear speaker cables are marked LR (left rear) and RR<br />
(right rear).<br />
B. Press the terminal tab to insert each wire into the<br />
proper connector. Be sure to match the red-collared<br />
wire to the red speaker connection terminal to maintain<br />
proper + and – polarity.<br />
Figure 5<br />
Array speaker connections<br />
Terminal tab<br />
Wire label: L, R,<br />
LR, or RR<br />
Front center<br />
speaker<br />
Wire label: C<br />
13<br />
BASIC SYSTEM CONNECTIONS