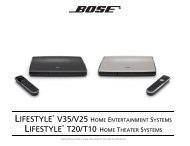
system placement - Bose
system placement - Bose
system placement - Bose

You also want an ePaper? Increase the reach of your titles
YUMPU automatically turns print PDFs into web optimized ePapers that Google loves.
English Deutsch Español Français Italiano Nederlands Svenska<br />
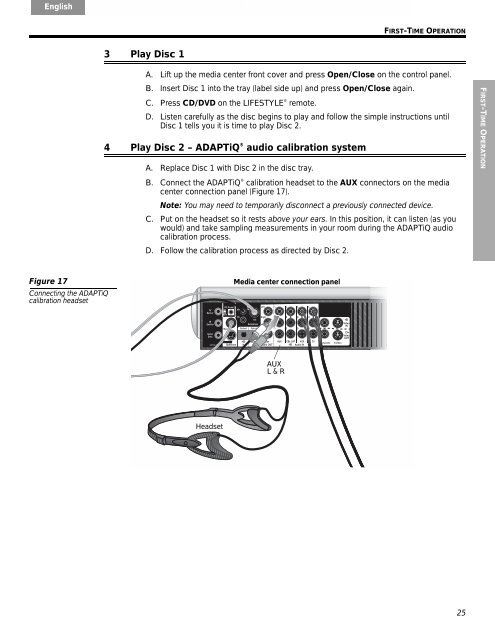
Figure 17<br />
Connecting the ADAPTiQ<br />
calibration headset<br />
3 Play Disc 1<br />
FIRST-TIME OPERATION<br />
A. Lift up the media center front cover and press Open/Close on the control panel.<br />
B. Insert Disc 1 into the tray (label side up) and press Open/Close again.<br />
C. Press CD/DVD on the LIFESTYLE ® remote.<br />
D. Listen carefully as the disc begins to play and follow the simple instructions until<br />
Disc 1 tells you it is time to play Disc 2.<br />
4 Play Disc 2 – ADAPTiQ ® audio calibration <strong>system</strong><br />
A. Replace Disc 1 with Disc 2 in the disc tray.<br />
B. Connect the ADAPTiQ ® calibration headset to the AUX connectors on the media<br />
center connection panel (Figure 17).<br />
Note: You may need to temporarily disconnect a previously connected device.<br />
C. Put on the headset so it rests above your ears. In this position, it can listen (as you<br />
would) and take sampling measurements in your room during the ADAPTiQ audio<br />
calibration process.<br />
D. Follow the calibration process as directed by Disc 2.<br />
Headset<br />
Media center connection panel<br />
AUX<br />
L & R<br />
25<br />
FIRST-TIME OPERATION