

XC-F10 M-F10 S-F10-LRW - Service.pioneer-eur.com - Pioneer
XC-F10 M-F10 S-F10-LRW - Service.pioneer-eur.com - Pioneer
XC-F10 M-F10 S-F10-LRW - Service.pioneer-eur.com - Pioneer

Create successful ePaper yourself
Turn your PDF publications into a flip-book with our unique Google optimized e-Paper software.
4 Getting Started<br />
Using menus<br />
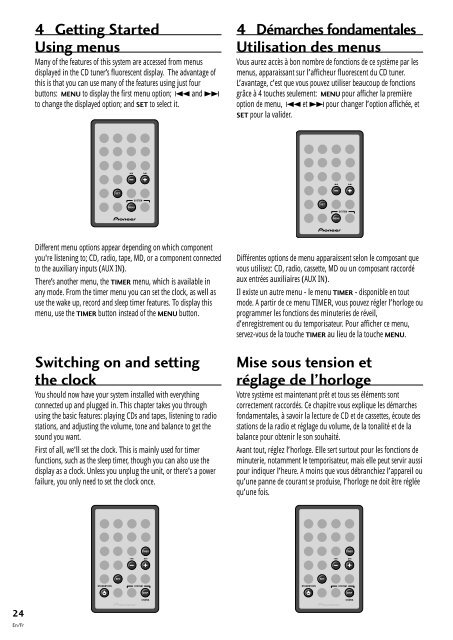
Many of the features of this system are accessed from menus<br />
displayed in the CD tuner’s fluorescent display. The advantage of<br />
this is that you can use many of the features using just four<br />
buttons: MENU to display the first menu option; 4 and ¢<br />
to change the displayed option; and SET to select it.<br />
4 Démarches fondamentales<br />
Utilisation des menus<br />
Vous aurez accès à bon nombre de fonctions de ce système par les<br />
menus, apparaissant sur l’affich<strong>eur</strong> fluorescent du CD tuner.<br />
L’avantage, c’est que vous pouvez utiliser beaucoup de fonctions<br />
grâce à 4 touches seulement: MENU pour afficher la première<br />
option de menu, 4 et ¢ pour changer l’option affichée, et<br />
SET pour la valider.<br />
4 ¢<br />
4 ¢<br />
SET<br />
MENU<br />
SYSTEM<br />
SET<br />
SYSTEM<br />
MENU<br />
Different menu options appear depending on which <strong>com</strong>ponent<br />
you're listening to; CD, radio, tape, MD, or a <strong>com</strong>ponent connected<br />
to the auxiliary inputs (AUX IN).<br />
There’s another menu, the TIMER menu, which is available in<br />
any mode. From the timer menu you can set the clock, as well as<br />
use the wake up, record and sleep timer features. To display this<br />
menu, use the TIMER button instead of the MENU button.<br />
Switching on and setting<br />
the clock<br />
You should now have your system installed with everything<br />
connected up and plugged in. This chapter takes you through<br />
using the basic features: playing CDs and tapes, listening to radio<br />
stations, and adjusting the volume, tone and balance to get the<br />
sound you want.<br />
First of all, we'll set the clock. This is mainly used for timer<br />
functions, such as the sleep timer, though you can also use the<br />
display as a clock. Unless you unplug the unit, or there's a power<br />
failure, you only need to set the clock once.<br />
Différentes options de menu apparaissent selon le <strong>com</strong>posant que<br />
vous utilisez: CD, radio, cassette, MD ou un <strong>com</strong>posant raccordé<br />
aux entrées auxiliaires (AUX IN).<br />
Il existe un autre menu - le menu TIMER - disponible en tout<br />
mode. A partir de ce menu TIMER, vous pouvez régler l’horloge ou<br />
programmer les fonctions des minuteries de réveil,<br />
d’enregistrement ou du temporisat<strong>eur</strong>. Pour afficher ce menu,<br />
servez-vous de la touche TIMER au lieu de la touche MENU.<br />
Mise sous tension et<br />
réglage de l’horloge<br />
Votre système est maintenant prêt et tous ses éléments sont<br />
correctement raccordés. Ce chapitre vous explique les démarches<br />
fondamentales, à savoir la lecture de CD et de cassettes, écoute des<br />
stations de la radio et réglage du volume, de la tonalité et de la<br />
balance pour obtenir le son souhaité.<br />
Avant tout, réglez l’horloge. Elle sert surtout pour les fonctions de<br />
minuterie, notamment le temporisat<strong>eur</strong>, mais elle peut servir aussi<br />
pour indiquer l’h<strong>eur</strong>e. A moins que vous débranchiez l’appareil ou<br />
qu’une panne de courant se produise, l’horloge ne doit être réglée<br />
qu’une fois.<br />
TIMER<br />
TIMER<br />
4 ¢<br />
4 ¢<br />
SET<br />
SET<br />
STANDBY/ON<br />
SYSTEM<br />
STANDBY/ON<br />
SYSTEM<br />
DISP<br />
DISP<br />
CHARA<br />
CHARA<br />
24<br />
En/Fr


