Sony HDR-CX900E - HDR-CX900E Manuel d'aide (version imprimable) Anglais
Sony HDR-CX900E - HDR-CX900E Manuel d'aide (version imprimable) Anglais
Sony HDR-CX900E - HDR-CX900E Manuel d'aide (version imprimable) Anglais
You also want an ePaper? Increase the reach of your titles
YUMPU automatically turns print PDFs into web optimized ePapers that Google loves.
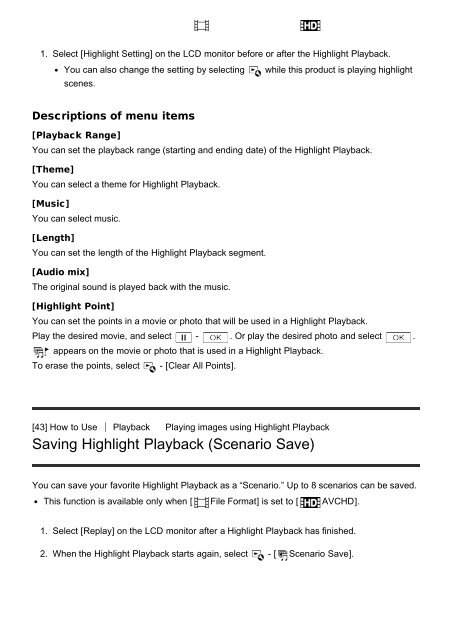
1. Select [Highlight Setting] on the LCD monitor before or after the Highlight Playback.<br />
You can also change the setting by selecting<br />
scenes.<br />
while this product is playing highlight<br />
Descriptions of menu items<br />
[Playback Range]<br />
You can set the playback range (starting and ending date) of the Highlight Playback.<br />
[Theme]<br />
You can select a theme for Highlight Playback.<br />
[Music]<br />
You can select music.<br />
[Length]<br />
You can set the length of the Highlight Playback segment.<br />
[Audio mix]<br />
The original sound is played back with the music.<br />
[Highlight Point]<br />
You can set the points in a movie or photo that will be used in a Highlight Playback.<br />
Play the desired movie, and select - . Or play the desired photo and select .<br />
appears on the movie or photo that is used in a Highlight Playback.<br />
To erase the points, select - [Clear All Points].<br />
[43] How to Use Playback Playing images using Highlight Playback<br />
Saving Highlight Playback (Scenario Save)<br />
You can save your favorite Highlight Playback as a “Scenario.” Up to 8 scenarios can be saved.<br />
This function is available only when [ File Format] is set to [ AVCHD].<br />
1. Select [Replay] on the LCD monitor after a Highlight Playback has finished.<br />
2. When the Highlight Playback starts again, select - [ Scenario Save].


