WhatsUp Gold Database Migration and Management Guide
WhatsUp Gold Database Migration and Management Guide
WhatsUp Gold Database Migration and Management Guide

Create successful ePaper yourself
Turn your PDF publications into a flip-book with our unique Google optimized e-Paper software.
<strong>WhatsUp</strong> <strong>Gold</strong> <strong>Database</strong> <strong>Migration</strong> <strong>and</strong> <strong>Management</strong> <strong>Guide</strong><br />
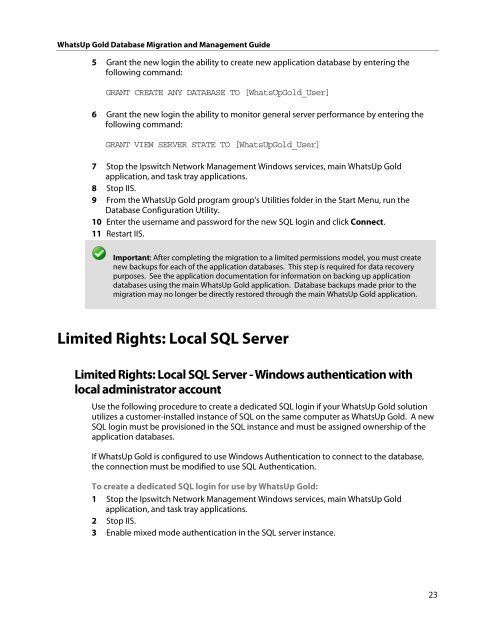
5 Grant the new login the ability to create new application database by entering the<br />
following comm<strong>and</strong>:<br />
GRANT CREATE ANY DATABASE TO [<strong>WhatsUp</strong><strong>Gold</strong>_User]<br />
6 Grant the new login the ability to monitor general server performance by entering the<br />
following comm<strong>and</strong>:<br />
GRANT VIEW SERVER STATE TO [<strong>WhatsUp</strong><strong>Gold</strong>_User]<br />
7 Stop the Ipswitch Network <strong>Management</strong> Windows services, main <strong>WhatsUp</strong> <strong>Gold</strong><br />
application, <strong>and</strong> task tray applications.<br />
8 Stop IIS.<br />
9 From the <strong>WhatsUp</strong> <strong>Gold</strong> program group's Utilities folder in the Start Menu, run the<br />
<strong>Database</strong> Configuration Utility.<br />
10 Enter the username <strong>and</strong> password for the new SQL login <strong>and</strong> click Connect.<br />
11 Restart IIS.<br />
Important: After completing the migration to a limited permissions model, you must create<br />
new backups for each of the application databases. This step is required for data recovery<br />
purposes. See the application documentation for information on backing up application<br />
databases using the main <strong>WhatsUp</strong> <strong>Gold</strong> application. <strong>Database</strong> backups made prior to the<br />
migration may no longer be directly restored through the main <strong>WhatsUp</strong> <strong>Gold</strong> application.<br />
Limited Rights: Local SQL Server<br />
Limited Rights: Local SQL Server - Windows authentication with<br />
local administrator account<br />
Use the following procedure to create a dedicated SQL login if your <strong>WhatsUp</strong> <strong>Gold</strong> solution<br />
utilizes a customer-installed instance of SQL on the same computer as <strong>WhatsUp</strong> <strong>Gold</strong>. A new<br />
SQL login must be provisioned in the SQL instance <strong>and</strong> must be assigned ownership of the<br />
application databases.<br />
If <strong>WhatsUp</strong> <strong>Gold</strong> is configured to use Windows Authentication to connect to the database,<br />
the connection must be modified to use SQL Authentication.<br />
To create a dedicated SQL login for use by <strong>WhatsUp</strong> <strong>Gold</strong>:<br />
1 Stop the Ipswitch Network <strong>Management</strong> Windows services, main <strong>WhatsUp</strong> <strong>Gold</strong><br />
application, <strong>and</strong> task tray applications.<br />
2 Stop IIS.<br />
3 Enable mixed mode authentication in the SQL server instance.<br />
23