Case Controller Supermarket Control Solutions - Sporlan Online
Case Controller Supermarket Control Solutions - Sporlan Online
Case Controller Supermarket Control Solutions - Sporlan Online
Create successful ePaper yourself
Turn your PDF publications into a flip-book with our unique Google optimized e-Paper software.
2<br />
Configuring the <strong>Case</strong> <strong><strong>Control</strong>ler</strong> From MT Alliance<br />
Installing the <strong>Case</strong> <strong><strong>Control</strong>ler</strong><br />
Programming the<br />
<strong>Case</strong> <strong><strong>Control</strong>ler</strong><br />
occurs in two steps:<br />
1. Installing the Node<br />
2. Sending Configuration<br />
Parameters<br />
(Abbreviated CPs)<br />
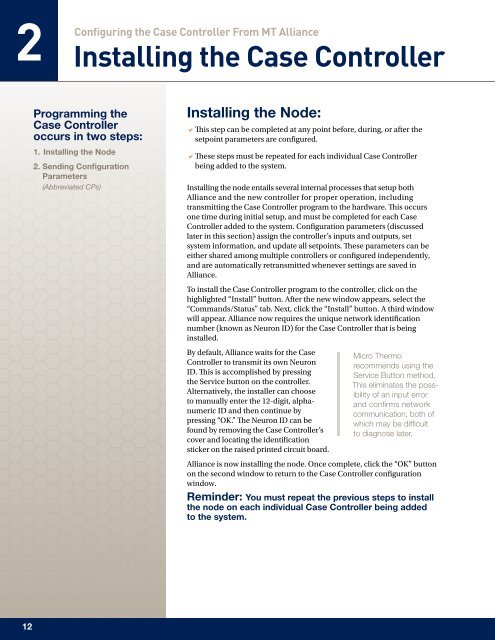
Installing the Node:<br />
aThis step can be completed at any point before, during, or after the<br />
setpoint parameters are configured.<br />
aThese steps must be repeated for each individual <strong>Case</strong> <strong><strong>Control</strong>ler</strong><br />
being added to the system.<br />
Installing the node entails several internal processes that setup both<br />
Alliance and the new controller for proper operation, including<br />
transmitting the <strong>Case</strong> <strong><strong>Control</strong>ler</strong> program to the hardware. This occurs<br />
one time during initial setup, and must be completed for each <strong>Case</strong><br />
<strong><strong>Control</strong>ler</strong> added to the system. Configuration parameters (discussed<br />
later in this section) assign the controller’s inputs and outputs, set<br />
system information, and update all setpoints. These parameters can be<br />
either shared among multiple controllers or configured independently,<br />
and are automatically retransmitted whenever settings are saved in<br />
Alliance.<br />
To install the <strong>Case</strong> <strong><strong>Control</strong>ler</strong> program to the controller, click on the<br />
highlighted “Install” button. After the new window appears, select the<br />
“Commands/Status” tab. Next, click the “Install” button. A third window<br />
will appear. Alliance now requires the unique network identification<br />
number (known as Neuron ID) for the <strong>Case</strong> <strong><strong>Control</strong>ler</strong> that is being<br />
installed.<br />
By default, Alliance waits for the <strong>Case</strong><br />
<strong><strong>Control</strong>ler</strong> to transmit its own Neuron<br />
ID. This is accomplished by pressing<br />
the Service button on the controller.<br />
Alternatively, the installer can choose<br />
to manually enter the 12-digit, alphanumeric<br />
ID and then continue by<br />
pressing “OK.” The Neuron ID can be<br />
found by removing the <strong>Case</strong> <strong><strong>Control</strong>ler</strong>’s<br />
cover and locating the identification<br />
sticker on the raised printed circuit board.<br />
Micro Thermo<br />
recommends using the<br />
Service Button method.<br />
This eliminates the possibility<br />
of an input error<br />
and confirms network<br />
communication, both of<br />
which may be difficult<br />
to diagnose later.<br />
Alliance is now installing the node. Once complete, click the “OK” button<br />
on the second window to return to the <strong>Case</strong> <strong><strong>Control</strong>ler</strong> configuration<br />
window.<br />
Reminder: You must repeat the previous steps to install<br />
the node on each individual <strong>Case</strong> <strong><strong>Control</strong>ler</strong> being added<br />
to the system.<br />
12


