
You also want an ePaper? Increase the reach of your titles
YUMPU automatically turns print PDFs into web optimized ePapers that Google loves.
Starting the recording mode<br />
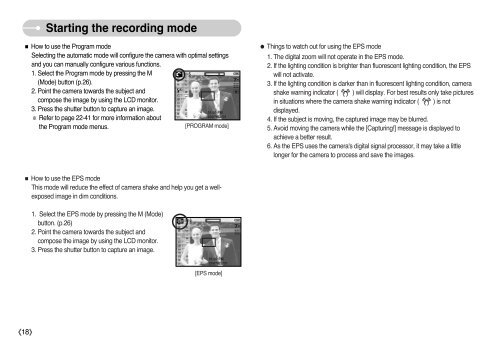
■ How to use the Program mode<br />
Selecting the automatic mode will configure the camera with optimal settings<br />
and you can manually configure various functions.<br />
1. Select the Program mode by pressing the M<br />
(Mode) button (p.26).<br />
2. Point the camera towards the subject and<br />
compose the image by using the LCD monitor.<br />
3. Press the shutter button to capture an image.<br />
※ Refer to page 22-41 for more information about<br />
the Program mode menus.<br />
[PROGRAM mode]<br />
● Things to watch out for using the EPS mode<br />
1. The digital zoom will not operate in the EPS mode.<br />
2. If the lighting condition is brighter than fluorescent lighting condition, the EPS<br />
will not activate.<br />
3. If the lighting condition is darker than in fluorescent lighting condition, camera<br />
shake warning indicator ( ) will display. For best results only take pictures<br />
in situations where the camera shake warning indicator ( ) is not<br />
displayed.<br />
4. If the subject is moving, the captured image may be blurred.<br />
5. Avoid moving the camera while the [Capturing!] message is displayed to<br />
achieve a better result.<br />
6. As the EPS uses the camera's digital signal processor, it may take a little<br />
longer for the camera to process and save the images.<br />
■ How to use the EPS mode<br />
This mode will reduce the effect of camera shake and help you get a wellexposed<br />
image in dim conditions.<br />
1. Select the EPS mode by pressing the M (Mode)<br />
button. (p.26)<br />
2. Point the camera towards the subject and<br />
compose the image by using the LCD monitor.<br />
3. Press the shutter button to capture an image.<br />
[EPS mode]<br />
《18》