Wire Harness Installation Instructions For Installing - Painless Wiring
Wire Harness Installation Instructions For Installing - Painless Wiring
Wire Harness Installation Instructions For Installing - Painless Wiring
You also want an ePaper? Increase the reach of your titles
YUMPU automatically turns print PDFs into web optimized ePapers that Google loves.
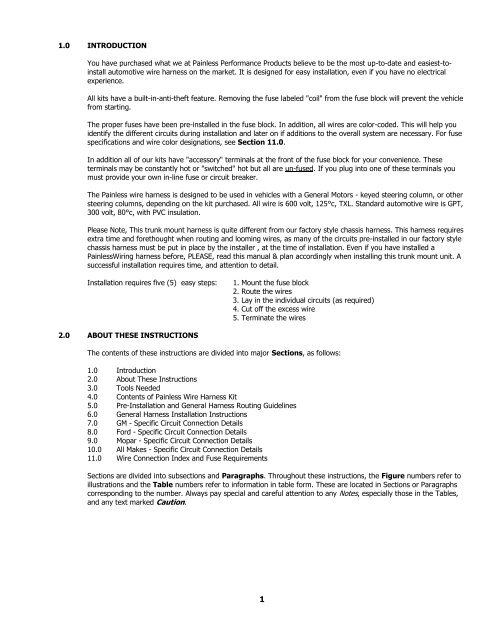
1.0 INTRODUCTION<br />
You have purchased what we at <strong>Painless</strong> Performance Products believe to be the most up-to-date and easiest-toinstall<br />
automotive wire harness on the market. It is designed for easy installation, even if you have no electrical<br />
experience.<br />
All kits have a built-in-anti-theft feature. Removing the fuse labeled "coil" from the fuse block will prevent the vehicle<br />
from starting.<br />
The proper fuses have been pre-installed in the fuse block. In addition, all wires are color-coded. This will help you<br />
identify the different circuits during installation and later on if additions to the overall system are necessary. <strong>For</strong> fuse<br />
specifications and wire color designations, see Section 11.0.<br />
In addition all of our kits have "accessory" terminals at the front of the fuse block for your convenience. These<br />
terminals may be constantly hot or "switched" hot but all are un-fused. If you plug into one of these terminals you<br />
must provide your own in-line fuse or circuit breaker.<br />
The <strong>Painless</strong> wire harness is designed to be used in vehicles with a General Motors - keyed steering column, or other<br />
steering columns, depending on the kit purchased. All wire is 600 volt, 125°c, TXL. Standard automotive wire is GPT,<br />
300 volt, 80°c, with PVC insulation.<br />
Please Note, This trunk mount harness is quite different from our factory style chassis harness. This harness requires<br />
extra time and forethought when routing and looming wires, as many of the circuits pre-installed in our factory style<br />
chassis harness must be put in place by the installer , at the time of installation. Even if you have installed a<br />
<strong>Painless</strong><strong>Wiring</strong> harness before, PLEASE, read this manual & plan accordingly when installing this trunk mount unit. A<br />
successful installation requires time, and attention to detail.<br />
<strong>Installation</strong> requires five (5) easy steps:<br />
1. Mount the fuse block<br />
2. Route the wires<br />
3. Lay in the individual circuits (as required)<br />
4. Cut off the excess wire<br />
5. Terminate the wires<br />
2.0 ABOUT THESE INSTRUCTIONS<br />
The contents of these instructions are divided into major Sections, as follows:<br />
1.0 Introduction<br />
2.0 About These <strong>Instructions</strong><br />
3.0 Tools Needed<br />
4.0 Contents of <strong>Painless</strong> <strong>Wire</strong> <strong>Harness</strong> Kit<br />
5.0 Pre-<strong>Installation</strong> and General <strong>Harness</strong> Routing Guidelines<br />
6.0 General <strong>Harness</strong> <strong>Installation</strong> <strong>Instructions</strong><br />
7.0 GM - Specific Circuit Connection Details<br />
8.0 <strong>For</strong>d - Specific Circuit Connection Details<br />
9.0 Mopar - Specific Circuit Connection Details<br />
10.0 All Makes - Specific Circuit Connection Details<br />
11.0 <strong>Wire</strong> Connection Index and Fuse Requirements<br />
Sections are divided into subsections and Paragraphs. Throughout these instructions, the Figure numbers refer to<br />
illustrations and the Table numbers refer to information in table form. These are located in Sections or Paragraphs<br />
corresponding to the number. Always pay special and careful attention to any Notes, especially those in the Tables,<br />
and any text marked Caution.<br />
1


