Industrial seal self study guide - SKF.com
Industrial seal self study guide - SKF.com
Industrial seal self study guide - SKF.com

Create successful ePaper yourself
Turn your PDF publications into a flip-book with our unique Google optimized e-Paper software.
For best <strong>seal</strong> performances, use:<br />
• Arbor or hydraulic press<br />
• Wooden block<br />
• Soft-faced hammer or mallet<br />
Installation tools in order of preference:<br />
• Tools tailor-made for <strong>seal</strong> installation<br />
• Standard driving plug<br />
• Old bearing cup<br />
• Wooden block<br />
Sealing damage may result when using:<br />
• Steel hammer<br />
• Drift or punch<br />
• Chisel or screwdriver<br />
• Direct hammer blows on the face of the <strong>seal</strong><br />
• Starting <strong>seal</strong> into the bore at an angle (cocked)<br />
Installation Checklist<br />
1. Check the bore. Remove any burrs from the leading edge.<br />
Be sure there is a rounded corner or chamfer (fig. 8d).<br />
2. Check the shaft. Remove burrs, surface nicks, grooves and spiral<br />
machine marks (machine lead).<br />
8<br />
3. Check the shaft end. Remove burrs or sharp edges. If the shaft<br />
enters the <strong>seal</strong> against the <strong>seal</strong>ing lip, its end must be chamfered<br />
or a special installation tool must be used.<br />
4. Check splines and keyways. Sharp edges should be covered<br />
with a lubricated assembly sleeve, shim stock or tape to protect<br />
the <strong>seal</strong> lip.<br />
5. Check the dimensions. Make sure that shaft and bore diameters<br />
match those specified for the <strong>seal</strong> selected.<br />
6. Check for part interference. Watch out for other machine parts that<br />
might rub against the <strong>seal</strong> and cause friction and damaging heat.<br />
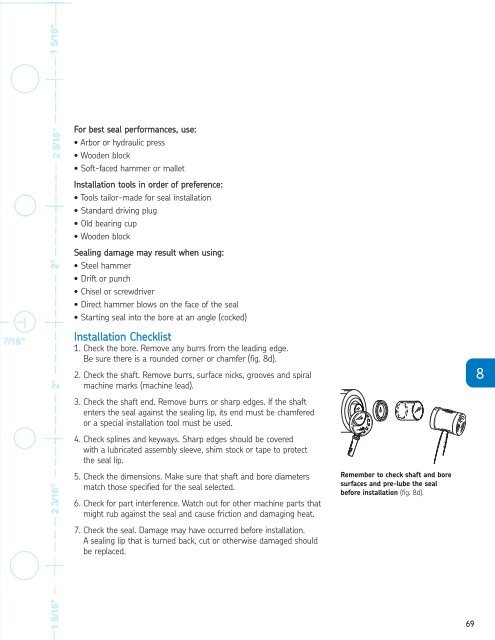
Remember to check shaft and bore<br />
surfaces and pre-lube the <strong>seal</strong><br />
before installation (fig. 8d).<br />
7. Check the <strong>seal</strong>. Damage may have occurred before installation.<br />
A <strong>seal</strong>ing lip that is turned back, cut or otherwise damaged should<br />
be replaced.<br />
69