
Create successful ePaper yourself
Turn your PDF publications into a flip-book with our unique Google optimized e-Paper software.
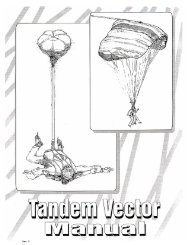
V E C T O R O W N E R ’ S M A N U A L<br />
PACKING THE MAIN CONTAINER<br />
The Vector 3 manual does not include instructions on how to pack the main canopy. Instructions for packing the main<br />
canopy can be found in the canopy owner’s manual. Relative Workshop’s instructions for packing the main container<br />
start with stowing the lines (After the main canopy has been inserted into the main deployment bag according to<br />
canopy manufacturer’s instructions).<br />
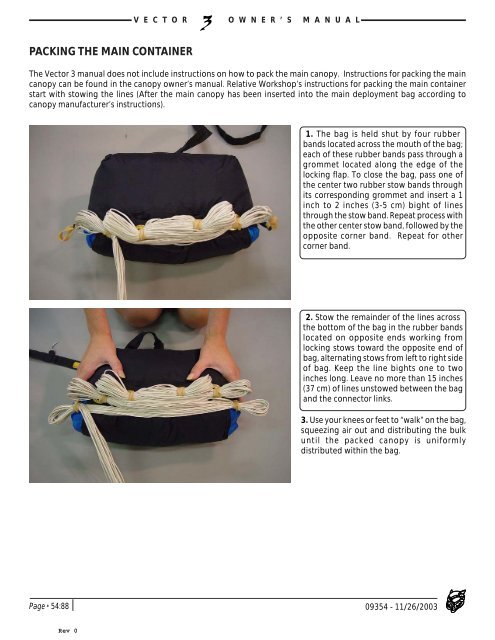
1. The bag is held shut by four rubber<br />
bands located across the mouth of the bag;<br />
each of these rubber bands pass through a<br />
grommet located along the edge of the<br />
locking flap. To close the bag, pass one of<br />
the center two rubber stow bands through<br />
its corresponding grommet and insert a 1<br />
inch to 2 inches (3-5 cm) bight of lines<br />
through the stow band. Repeat process with<br />
the other center stow band, followed by the<br />
opposite corner band. Repeat for other<br />
corner band.<br />
2. Stow the remainder of the lines across<br />
the bottom of the bag in the rubber bands<br />
located on opposite ends working from<br />
locking stows toward the opposite end of<br />
bag, alternating stows from left to right side<br />
of bag. Keep the line bights one to two<br />
inches long. Leave no more than 15 inches<br />
(37 cm) of lines unstowed between the bag<br />
and the connector links.<br />
3. Use your knees or feet to “walk” on the bag,<br />
squeezing air out and distributing the bulk<br />
until the packed canopy is uniformly<br />
distributed within the bag.<br />
Page • 54:88 09354 - 11/26/2003<br />
Rev 0