
Create successful ePaper yourself
Turn your PDF publications into a flip-book with our unique Google optimized e-Paper software.
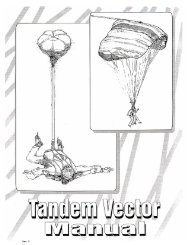
V E C T O R O W N E R ’ S M A N U A L<br />
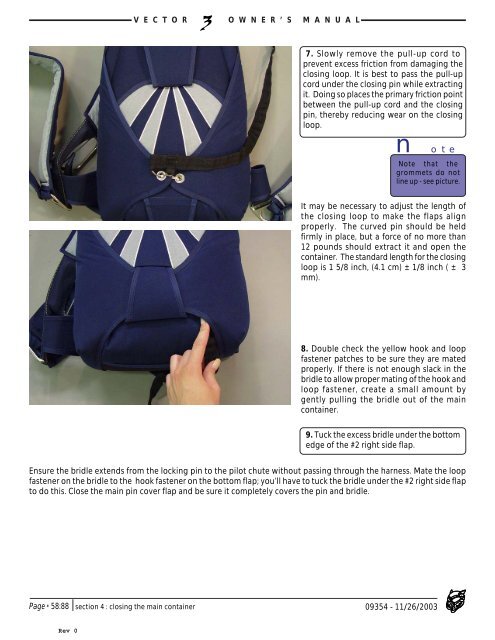
7. Slowly remove the pull-up cord to<br />
prevent excess friction from damaging the<br />
closing loop. It is best to pass the pull-up<br />
cord under the closing pin while extracting<br />
it. Doing so places the primary friction point<br />
between the pull-up cord and the closing<br />
pin, thereby reducing wear on the closing<br />
loop.<br />
note<br />
Note that the<br />
grommets do not<br />
line up - see picture.<br />
It may be necessary to adjust the length of<br />
the closing loop to make the flaps align<br />
properly. The curved pin should be held<br />
firmly in place, but a force of no more than<br />
12 pounds should extract it and open the<br />
container. The standard length for the closing<br />
loop is 1 5/8 inch, (4.1 cm) ± 1/8 inch ( ± 3<br />
mm).<br />
8. Double check the yellow hook and loop<br />
fastener patches to be sure they are mated<br />
properly. If there is not enough slack in the<br />
bridle to allow proper mating of the hook and<br />
loop fastener, create a small amount by<br />
gently pulling the bridle out of the main<br />
container.<br />
9. Tuck the excess bridle under the bottom<br />
edge of the #2 right side flap.<br />
Ensure the bridle extends from the locking pin to the pilot chute without passing through the harness. Mate the loop<br />
fastener on the bridle to the hook fastener on the bottom flap; you’ll have to tuck the bridle under the #2 right side flap<br />
to do this. Close the main pin cover flap and be sure it completely covers the pin and bridle.<br />
Page • 58:88 section 4 : closing the main container<br />
09354 - 11/26/2003<br />
Rev 0