
Create successful ePaper yourself
Turn your PDF publications into a flip-book with our unique Google optimized e-Paper software.
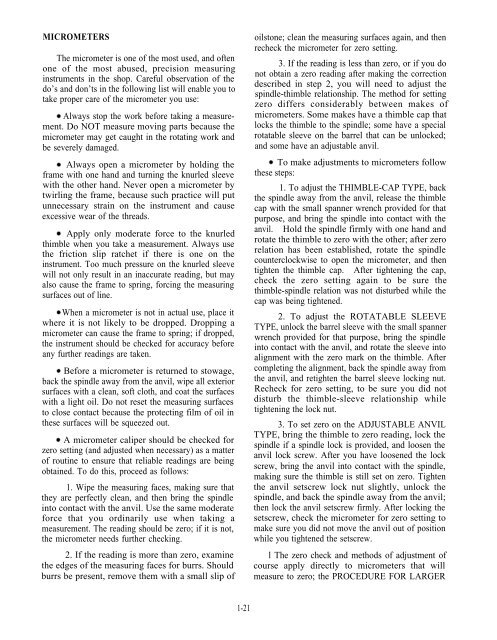
MICROMETERS<br />
The micrometer is one of the most used, and often<br />
one of the most abused, precision measuring<br />
instruments in the shop. Careful observation of the<br />
do’s and don’ts in the following list will enable you to<br />
take proper care of the micrometer you use:<br />
Always stop the work before taking a measurement.<br />
Do NOT measure moving parts because the<br />
micrometer may get caught in the rotating work and<br />
be severely damaged.<br />
Always open a micrometer by holding the<br />
frame with one hand and turning the knurled sleeve<br />
with the other hand. Never open a micrometer by<br />
twirling the frame, because such practice will put<br />
unnecessary strain on the instrument and cause<br />
excessive wear of the threads.<br />
Apply only moderate force to the knurled<br />
thimble when you take a measurement. Always use<br />
the friction slip ratchet if there is one on the<br />
instrument. Too much pressure on the knurled sleeve<br />
will not only result in an inaccurate reading, but may<br />
also cause the frame to spring, forcing the measuring<br />
surfaces out of line.<br />
When a micrometer is not in actual use, place it<br />
where it is not likely to be dropped. Dropping a<br />
micrometer can cause the frame to spring; if dropped,<br />
the instrument should be checked for accuracy before<br />
any further readings are taken.<br />
Before a micrometer is returned to stowage,<br />
back the spindle away from the anvil, wipe all exterior<br />
surfaces with a clean, soft cloth, and coat the surfaces<br />
with a light oil. Do not reset the measuring surfaces<br />
to close contact because the protecting film of oil in<br />
these surfaces will be squeezed out.<br />
A micrometer caliper should be checked for<br />
zero setting (and adjusted when necessary) as a matter<br />
of routine to ensure that reliable readings are being<br />
obtained. To do this, proceed as follows:<br />
1. Wipe the measuring faces, making sure that<br />
they are perfectly clean, and then bring the spindle<br />
into contact with the anvil. Use the same moderate<br />
force that you ordinarily use when taking a<br />
measurement. The reading should be zero; if it is not,<br />
the micrometer needs further checking.<br />
2. If the reading is more than zero, examine<br />
the edges of the measuring faces for burrs. Should<br />
burrs be present, remove them with a small slip of<br />
1-21<br />
oilstone; clean the measuring surfaces again, and then<br />
recheck the micrometer for zero setting.<br />
3. If the reading is less than zero, or if you do<br />
not obtain a zero reading after making the correction<br />
described in step 2, you will need to adjust the<br />
spindle-thimble relationship. The method for setting<br />
zero differs considerably between makes of<br />
micrometers. Some makes have a thimble cap that<br />
locks the thimble to the spindle; some have a special<br />
rotatable sleeve on the barrel that can be unlocked;<br />
and some have an adjustable anvil.<br />
To make adjustments to micrometers follow<br />
these steps:<br />
1. To adjust the THIMBLE-CAP TYPE, back<br />
the spindle away from the anvil, release the thimble<br />
cap with the small spanner wrench provided for that<br />
purpose, and bring the spindle into contact with the<br />
anvil. Hold the spindle firmly with one hand and<br />
rotate the thimble to zero with the other; after zero<br />
relation has been established, rotate the spindle<br />
counterclockwise to open the micrometer, and then<br />
tighten the thimble cap. After tightening the cap,<br />
check the zero setting again to be sure the<br />
thimble-spindle relation was not disturbed while the<br />
cap was being tightened.<br />
2. To adjust the ROTATABLE SLEEVE<br />
TYPE, unlock the barrel sleeve with the small spanner<br />
wrench provided for that purpose, bring the spindle<br />
into contact with the anvil, and rotate the sleeve into<br />
alignment with the zero mark on the thimble. After<br />
completing the alignment, back the spindle away from<br />
the anvil, and retighten the barrel sleeve locking nut.<br />
Recheck for zero setting, to be sure you did not<br />
disturb the thimble-sleeve relationship while<br />
tightening the lock nut.<br />
3. To set zero on the ADJUSTABLE ANVIL<br />
TYPE, bring the thimble to zero reading, lock the<br />
spindle if a spindle lock is provided, and loosen the<br />
anvil lock screw. After you have loosened the lock<br />
screw, bring the anvil into contact with the spindle,<br />
making sure the thimble is still set on zero. Tighten<br />
the anvil setscrew lock nut slightly, unlock the<br />
spindle, and back the spindle away from the anvil;<br />
then lock the anvil setscrew firmly. After locking the<br />
setscrew, check the micrometer for zero setting to<br />
make sure you did not move the anvil out of position<br />
while you tightened the setscrew.<br />
l The zero check and methods of adjustment of<br />
course apply directly to micrometers that will<br />
measure to zero; the PROCEDURE FOR LARGER