Create successful ePaper yourself
Turn your PDF publications into a flip-book with our unique Google optimized e-Paper software.
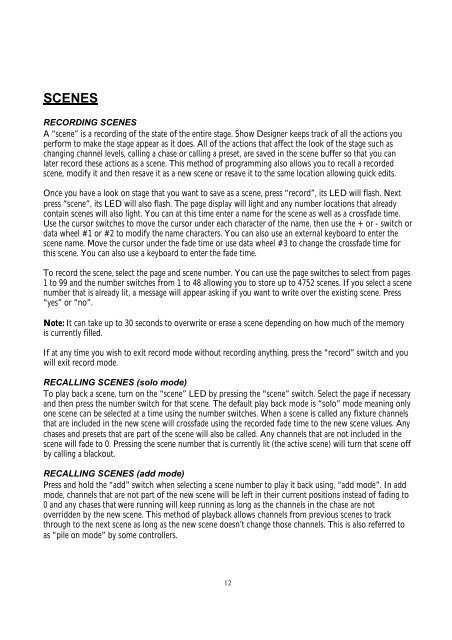
SCENESRECORDING SCENESA “scene” is a recording of the state of the entire stage. <strong>Show</strong> <strong>Designer</strong> keeps track of all the actions youperform to make the stage appear as it does. All of the actions that affect the look of the stage such aschanging channel levels, calling a chase or calling a preset, are saved in the scene buffer so that you canlater record these actions as a scene. This method of programming also allows you to recall a recordedscene, modify it and then resave it as a new scene or resave it to the same location allowing quick edits.Once you have a look on stage that you want to save as a scene, press “record”, its LED will flash. Nextpress “scene”, its LED will also flash. The page display will light and any number locations that alreadycontain scenes will also light. You can at this time enter a name for the scene as well as a crossfade time.Use the cursor switches to move the cursor under each character of the name, then use the + or - switch ordata wheel #1 or #2 to modify the name characters. You can also use an external keyboard to enter thescene name. Move the cursor under the fade time or use data wheel #3 to change the crossfade time forthis scene. You can also use a keyboard to enter the fade time.To record the scene, select the page and scene number. You can use the page switches to select from pages1 to 99 and the number switches from 1 to 48 allowing you to store up to 4752 scenes. If you select a scenenumber that is already lit, a message will appear asking if you want to write over the existing scene. Press“yes” or “no”.Note: It can take up to 30 seconds to overwrite or erase a scene depending on how much of the memoryis currently filled.If at any time you wish to exit record mode without recording anything, press the “record” switch and youwill exit record mode.RECALLING SCENES (solo mode)To play back a scene, turn on the “scene” LED by pressing the “scene” switch. Select the page if necessaryand then press the number switch for that scene. The default play back mode is “solo” mode meaning onlyone scene can be selected at a time using the number switches. When a scene is called any fixture channelsthat are included in the new scene will crossfade using the recorded fade time to the new scene values. Anychases and presets that are part of the scene will also be called. Any channels that are not included in thescene will fade to 0. Pressing the scene number that is currently lit (the active scene) will turn that scene offby calling a blackout.RECALLING SCENES (add mode)Press and hold the “add” switch when selecting a scene number to play it back using, “add mode”. In addmode, channels that are not part of the new scene will be left in their current positions instead of fading to0 and any chases that were running will keep running as long as the channels in the chase are notoverridden by the new scene. This method of playback allows channels from previous scenes to trackthrough to the next scene as long as the new scene doesn’t change those channels. This is also referred toas “pile on mode” by some controllers.12


