Create successful ePaper yourself
Turn your PDF publications into a flip-book with our unique Google optimized e-Paper software.
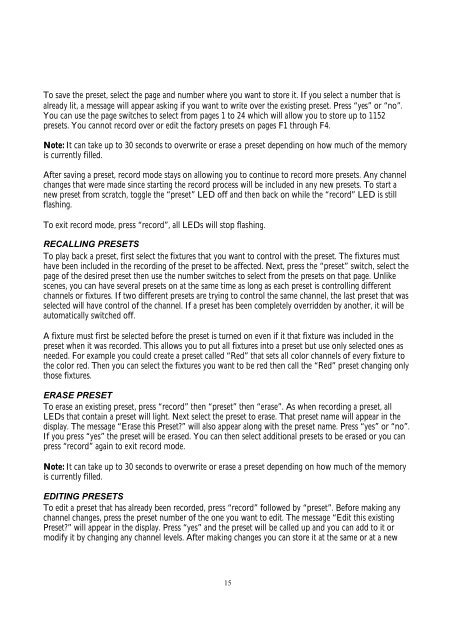
To save the preset, select the page and number where you want to store it. If you select a number that isalready lit, a message will appear asking if you want to write over the existing preset. Press “yes” or “no”.You can use the page switches to select from pages 1 to 24 which will allow you to store up to 1152presets. You cannot record over or edit the factory presets on pages F1 through F4.Note: It can take up to 30 seconds to overwrite or erase a preset depending on how much of the memoryis currently filled.After saving a preset, record mode stays on allowing you to continue to record more presets. Any channelchanges that were made since starting the record process will be included in any new presets. To start anew preset from scratch, toggle the “preset” LED off and then back on while the “record” LED is stillflashing.To exit record mode, press “record”, all LEDs will stop flashing.RECALLING PRESETSTo play back a preset, first select the fixtures that you want to control with the preset. The fixtures musthave been included in the recording of the preset to be affected. Next, press the “preset” switch, select thepage of the desired preset then use the number switches to select from the presets on that page. Unlikescenes, you can have several presets on at the same time as long as each preset is controlling differentchannels or fixtures. If two different presets are trying to control the same channel, the last preset that wasselected will have control of the channel. If a preset has been completely overridden by another, it will beautomatically switched off.A fixture must first be selected before the preset is turned on even if it that fixture was included in thepreset when it was recorded. This allows you to put all fixtures into a preset but use only selected ones asneeded. For example you could create a preset called “Red” that sets all color channels of every fixture tothe color red. Then you can select the fixtures you want to be red then call the “Red” preset changing onlythose fixtures.ERASE PRESETTo erase an existing preset, press “record” then “preset” then “erase”. As when recording a preset, allLEDs that contain a preset will light. Next select the preset to erase. That preset name will appear in thedisplay. The message “Erase this Preset?” will also appear along with the preset name. Press “yes” or “no”.If you press “yes” the preset will be erased. You can then select additional presets to be erased or you canpress “record” again to exit record mode.Note: It can take up to 30 seconds to overwrite or erase a preset depending on how much of the memoryis currently filled.EDITING PRESETSTo edit a preset that has already been recorded, press “record” followed by “preset”. Before making anychannel changes, press the preset number of the one you want to edit. The message “Edit this existingPreset?” will appear in the display. Press “yes” and the preset will be called up and you can add to it ormodify it by changing any channel levels. After making changes you can store it at the same or at a new15


